
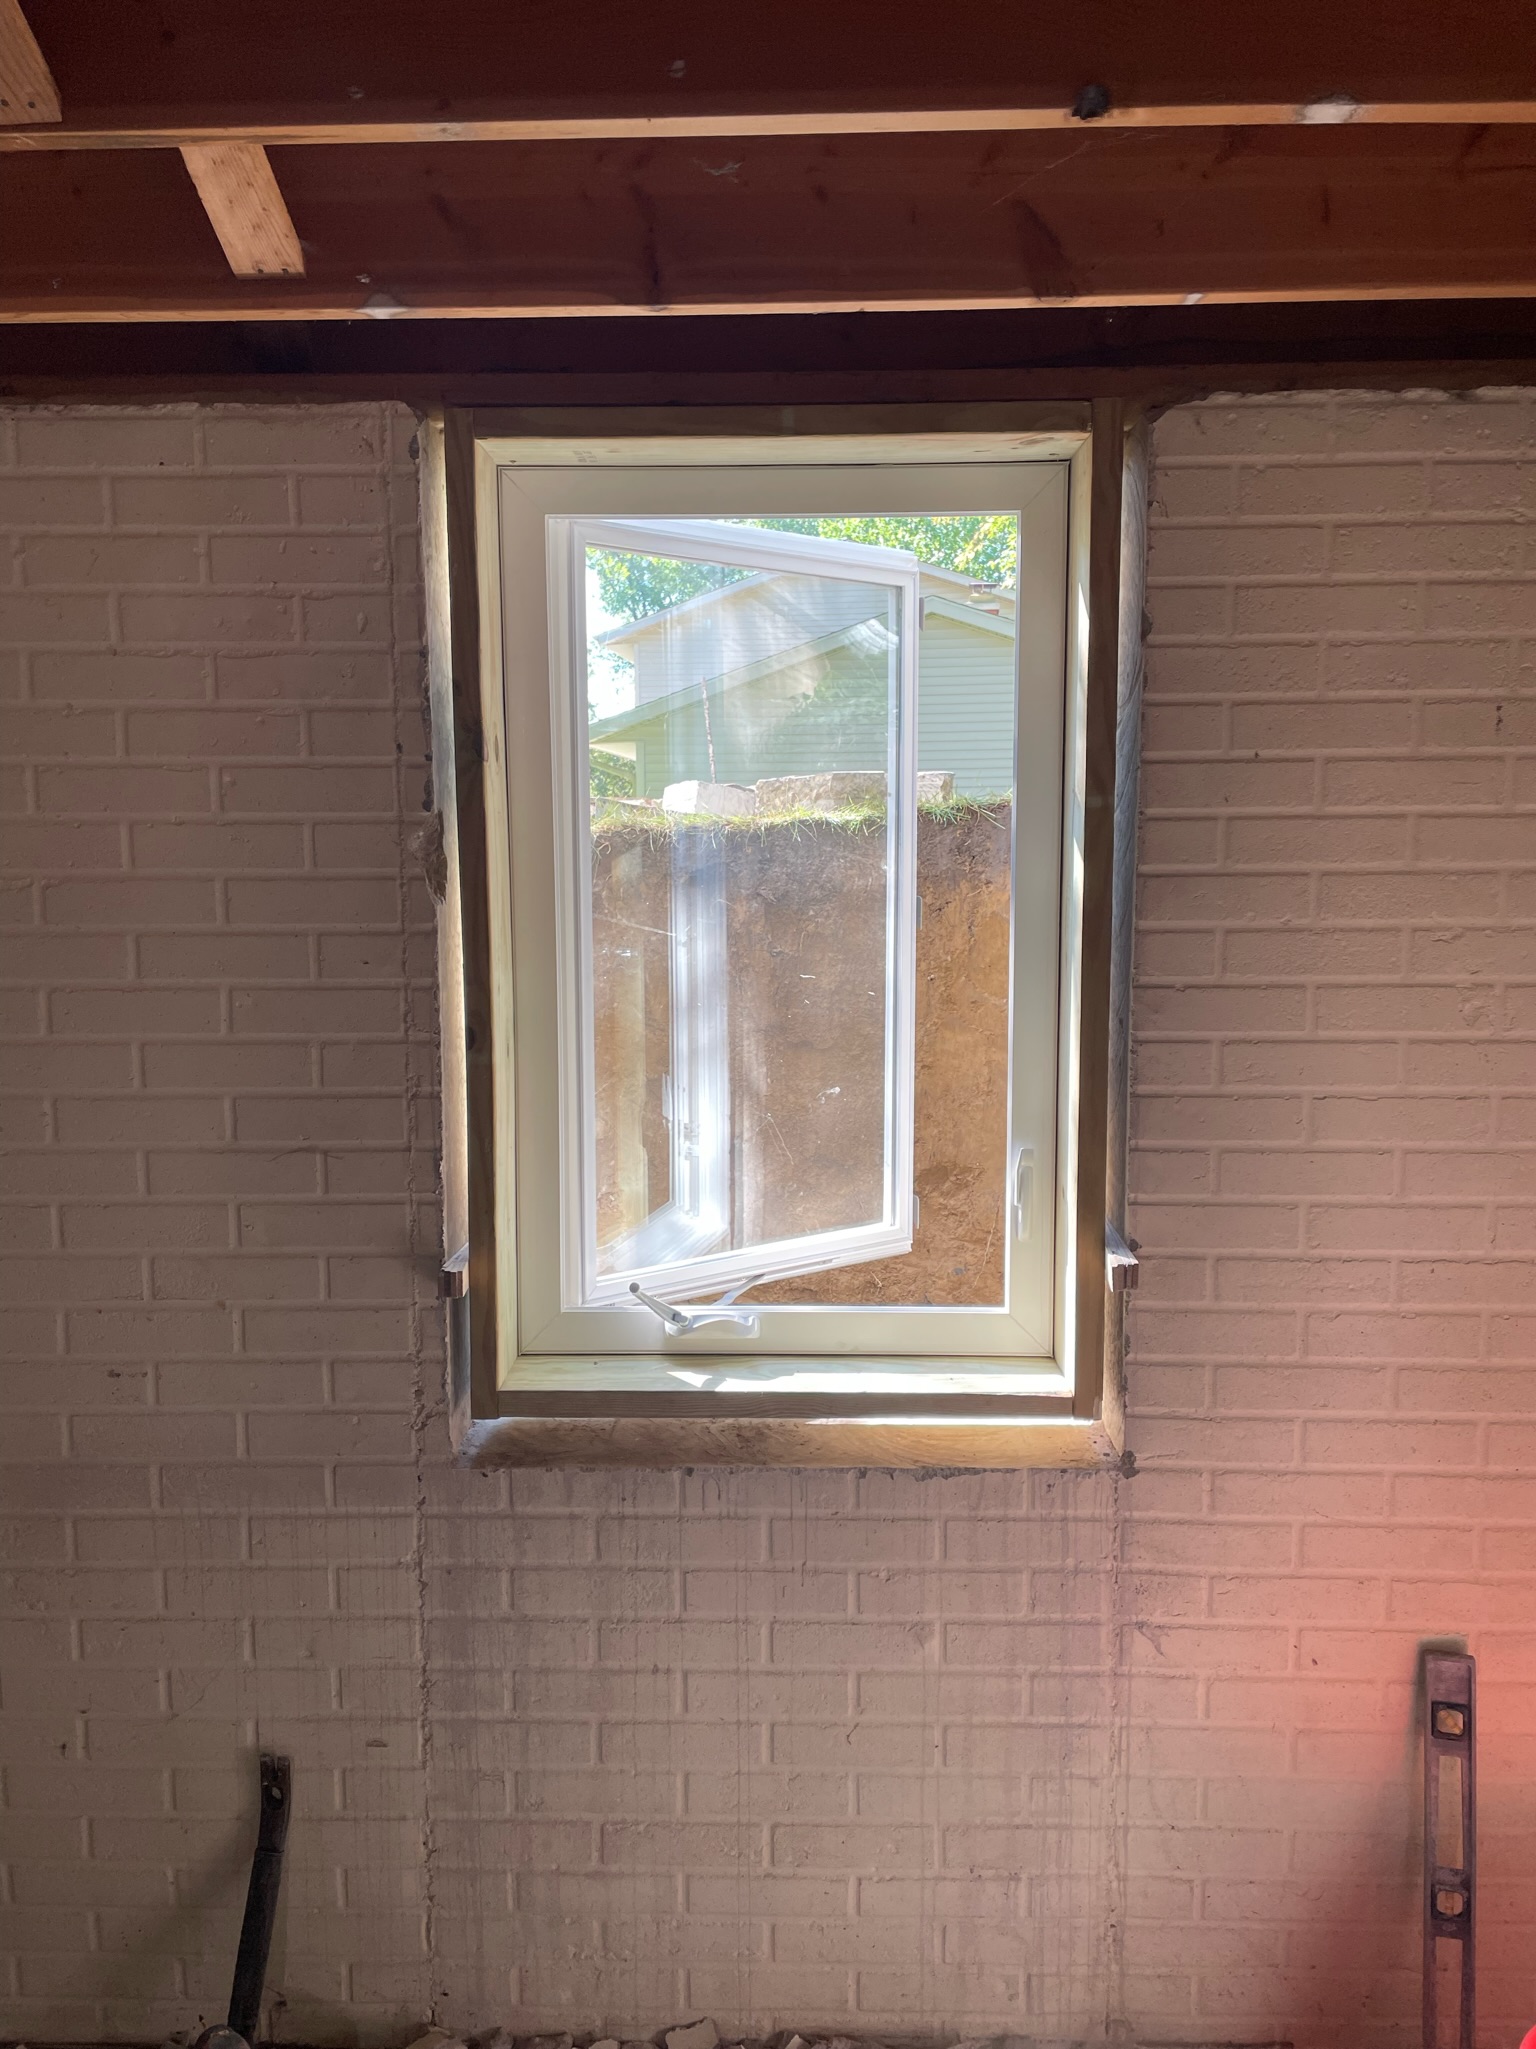
Bring Light, Safety & Value to Your Basement
Natural daylight. A real emergency escape. Professionally cut, installed, and waterproofed by Behncke Construction — the Quad Cities’ foundation people since 1948.
- Licensed & Insured
- BBB A+ Accredited
- Iowa State Awarded Contractor
- Quad Cities Chamber Member
- Locals Love Us
Eight good reasons to cut daylight into a basement
Some of these are about safety and code. Some are about how the space feels and what it is worth. Most homeowners come to us for one of them and end up glad they got all eight.
Real daylight, not a light bulb
A basement without a proper window always reads as a basement. A code-sized egress opening pulls genuine daylight down the stairs and changes how the whole level feels — brighter, drier, and worth spending time in.
Fresh air that actually moves
A casement cranks fully open, so the basement can finally breathe. That airflow pushes out the stale, damp smell that collects below grade and helps keep humidity in check between finished walls.
A way out when the stairs are gone
In a house fire the stairwell fills with smoke and heat first. An egress window gives anyone sleeping or working downstairs a second exit that leads straight to open air — the reason the code requires it in the first place.
A way in for firefighters
The same opening that lets your family out lets a firefighter in, gear and all. That is why the code sets a minimum clear opening rather than just requiring “an operable window.”
A basement you actually finish
Framing a media room or office below grade only makes sense if it is safe and legal to occupy. A compliant egress window is what turns raw square footage into livable space.
A bedroom the code will allow
A sleeping room below grade legally requires its own emergency escape. Add the right window and that spare downstairs room becomes a real, code-recognized bedroom.
Livable square footage that counts
Appraisers count finished, code-compliant basement space differently than an unfinished cellar. A legal egress bedroom can move a home from a 3-bed to a 4-bed on paper.
Cleaner inspections and resale
Buyers and their inspectors look for a legal egress on any finished basement bedroom. Having one done correctly removes a common sticking point long before it reaches the negotiating table.
Every part of this window is doing a job below grade
The unit in these photos is an Alliance Windows by Midway — Windgate Single Casement, 29.5" × 47.5", in white. It is not a fancy window; it is a well-built one, and below grade the details are what keep a basement dry. Tap a marker to see why each part earns its place.
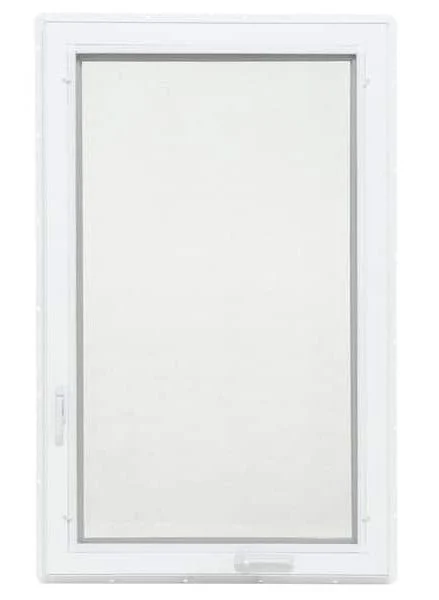
Fusion-welded vinyl frame
The frame corners are heat-welded into a single continuous piece instead of screwed together. There is no mechanical joint to loosen, rack, or open up a leak path years down the road — it behaves as one solid unit against the concrete.
Alliance Assurance Plus® Lifetime Limited Warranty
The window and its sealed glass are warranted against covered manufacturing defects for the lifetime of the original homeowner — plus five years of Assurance Plus® coverage that includes 100% parts and labor. Coverage is even transferable to the next owner.
Twelve details, and why each one matters
Fusion-welded vinyl frame
Corners melted into one continuous piece — no fasteners to loosen and no seams to leak.
Multi-chamber insulated frame
Hollow air chambers inside the frame slow heat transfer and stiffen the profile against the concrete.
3¼-inch frame depth
A deep frame seats solidly in a poured or block wall and leaves proper room for flashing and insulation.
¾-inch insulated glass unit
Two panes with a sealed air gap between them — warmer glass, a quieter room, far less condensation.
Low-E insulated glass
A coating that reflects heat while passing daylight, so the basement stays comfortable year-round.
Warm-edge spacer technology
A non-metal spacer at the glass edge fights the condensation and seal failure that start there.
Triple weather sealing
Three compression seals close around the sash — redundancy that matters below grade.
Multi-point locking hardware
Locks engage at several points to pull the sash tight for security and a consistent seal.
Heavy-duty crank mechanism
Smooth one-hand operation that opens the sash fully — dependable in an emergency.
Double-strength glass
Thicker glass stands up to the knocks and pressure a below-grade opening can take.
White maintenance-free vinyl
Never needs paint and will not rot or corrode against damp soil and concrete.
Factory egress configuration
Built at this size specifically to meet the net clear opening the code requires.
Most leaking egress windows are not bad windows. They were installed wrong.
When a homeowner calls us about a leaking egress window, the window itself is almost never the problem. The water is getting in around it — through a well that was never drained, a cut that was never flashed, or backfill that funnels rain straight to the foundation. An egress window is really a waterproofing project that happens to include a window, and the opening is the easy part. Keeping it dry for the next thirty years is the skill.
Here is what a correct installation actually depends on — the work you will never see once the trim goes on.
Wall cutting
A clean, square cut sized to the window — ragged or oversized openings never seal right.
Structural support
A concrete or steel lintel carries the load above the cut so the wall stays sound.
Concrete lintels
The header over the opening is not optional — it is what keeps the wall from cracking above.
Drainage
A gravel base and a drain give well water somewhere to go besides your basement.
Waterproofing
The fresh penetration gets sealed so the hole we made cannot become a leak.
Window well placement
Set at the right depth and offset so the window fully opens and the well truly drains.
Grading
Soil sloped away from the well so surface runoff never pools against it.
Flashing
Detailed at the head and sides to shed water around the frame, not behind it.
Backfill
Placed in lifts and compacted so the ground does not settle and pull water back in.
Interior finishing
Trimmed and sealed cleanly so the finished room shows no sign a wall was ever opened.
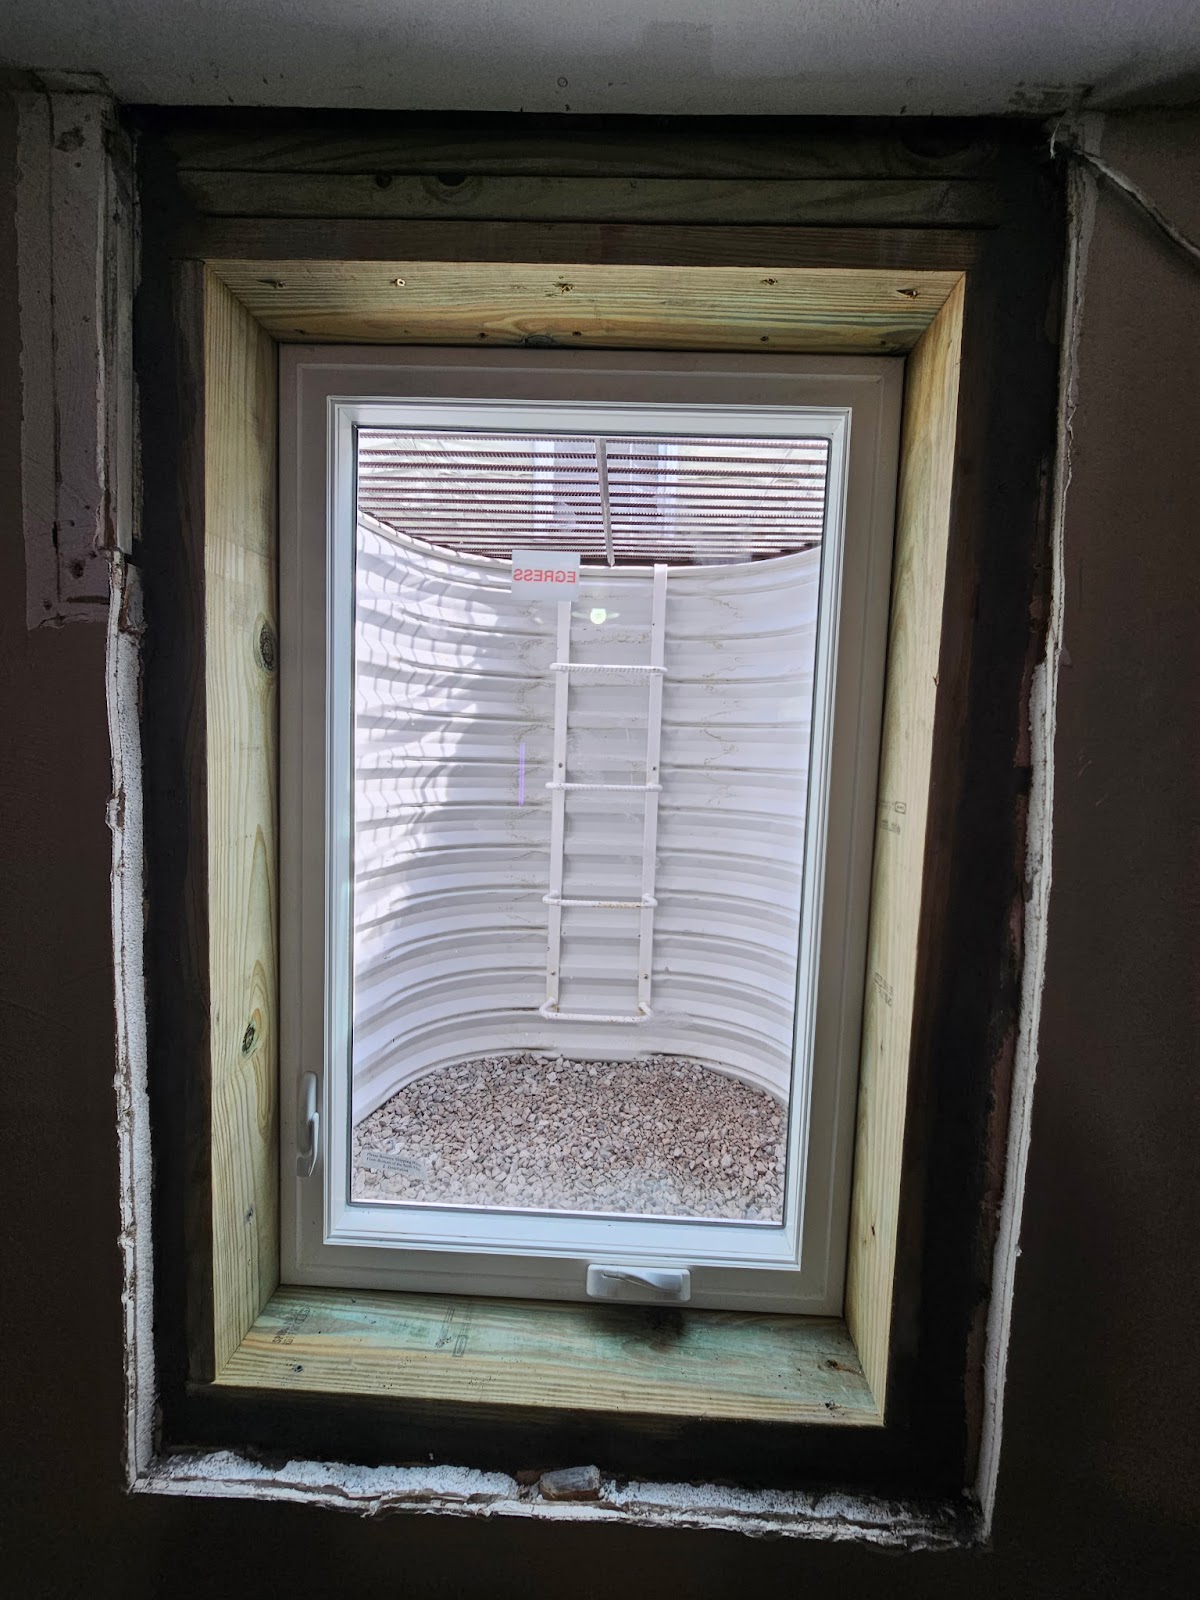
The code, translated into pictures
The residential code adopted across our Iowa and Illinois service area spells out exactly what makes a basement opening a legal escape. Rather than quote it at you, here is what each requirement looks like in a real basement. We confirm the specifics with your local building department on every job.
Minimum net clear opening
The actual open area you can climb through — 5.0 sq ft is allowed only at grade level.
Minimum opening dimensions
At least 20 inches of clear width and 24 inches of clear height once the sash is open.
Maximum sill height
Measured from the finished floor to the window sill, so the opening is reachable.
Window well size
At least 36 inches of width and projection, and the window must open fully inside it.
Ladder or steps
When a well is deeper than 44 inches, a permanently attached ladder or steps is required.
Well drainage
A gravel base tied into the foundation drainage so the well never holds water.
What “net clear opening” means
SQ FT
It is the actual open area you can climb through with the sash cranked fully open — not the size of the glass or the rough opening.
Sill no higher than 44″
Low enough that a child or an adult can reach it and climb out without a boost. Where the sill lands higher, a permanent step is built in.
Why the well has to drain
A well is a bucket cut into the ground next to your foundation. Without a gravel base and a drain tied into the foundation system, it fills with rain and pushes water straight through the new opening. This one step is what separates a dry egress from a leaking one.
Code is the minimum.
Quality installation goes further.
The IRC numbers on this page establish the floor for life safety — the smallest opening, the shortest ladder, the least drainage the law will accept. Long-term performance depends on everything past that line: real structural support over the cut, flashing at the penetration, a well that actually drains, and grading that carries water away for good.
Eleven steps, in the order that keeps it dry
The sequence is not arbitrary. Drainage goes in before backfill. Support goes in before the window. Every step is set up by the one before it.
- 01
Free estimate visit
We start at your house, not with a price. We read the foundation, the grade, the utilities, and where water wants to go before we put a number on paper.
- 02
Utility locating
Every dig starts with locates. Gas, electric, water, and communication lines get marked so the excavation stays clear of them.
- 03
Excavation
We open the well area to the correct depth and width for a code-sized window — carefully, without disturbing the footing below.
- 04
Concrete wall cutting
A clean, square opening is cut into the poured or block wall, sized exactly to the window it will hold.
- 05
Structural support
A concrete or steel lintel is set to carry the load above the new opening so the wall stays sound for the life of the house.
- 06
Window installation
The egress window is set plumb, shimmed, fastened, and sealed into the fresh opening.
- 07
Drainage installation
A gravel base and a drain tied into the foundation drainage give water somewhere to go — the step most leaking wells never got.
- 08
Window well installation
A sturdy well sized for a true, usable exit goes in, with a ladder or steps where the depth calls for one.
- 09
Backfill
We backfill in compacted lifts so the ground does not settle later and pull water back toward the wall.
- 10
Final grading
The soil is graded so surface water runs away from the well, not into it.
- 11
Cleanup
We haul off the spoil, tidy the site, and leave the inside ready to trim and finish.
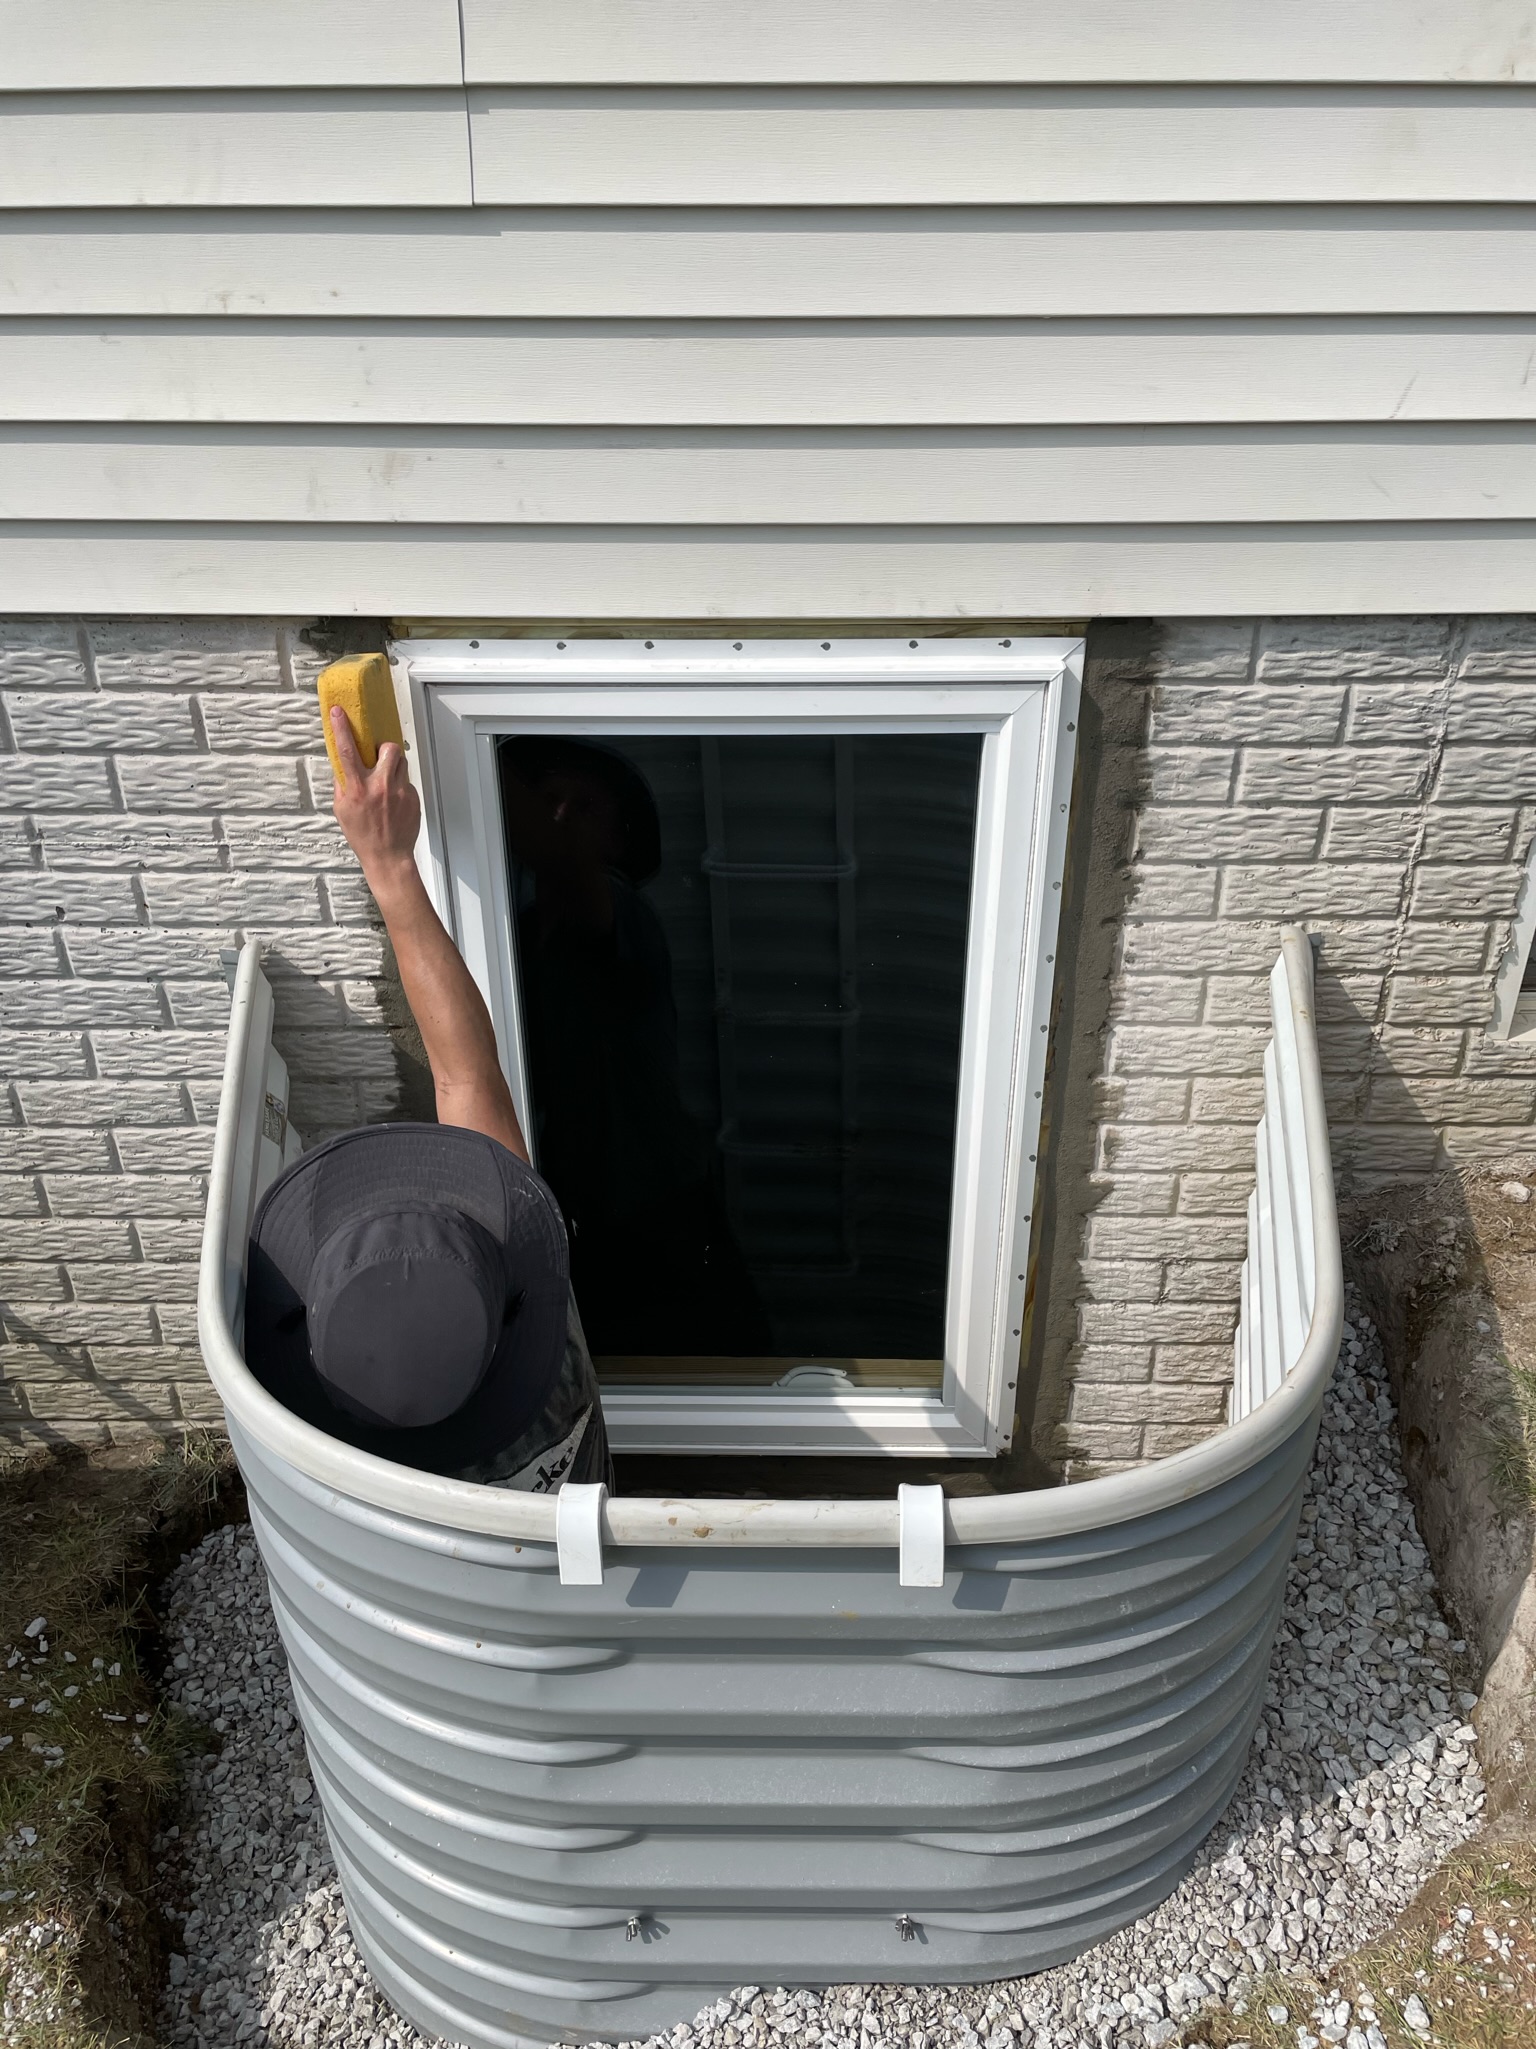
This is why we start with a look, not a price
Two houses on the same street can need two completely different installations. The wall might be poured on one and block on the next. The water table, the soil, the grade, and what is buried in the yard all change the plan. A contractor who quotes an egress window over the phone is guessing — and guesses are how wells end up in the wrong place and basements end up wet.
- Foundation wall type
- Buried utilities
- Soil conditions
- Existing drainage
- Yard elevation
- Water management
- Finished basements
- Structural concerns
We have been cutting into Quad Cities foundations since 1948
An egress window is a small structural project and a waterproofing project at the same time. That happens to be exactly what we do all day. Behncke has repaired foundations, waterproofed basements, poured concrete, and rebuilt masonry across the Quad Cities for over seventy-five years. When we open a wall, we already know what is behind it and how water is going to behave once we do.

Egress questions we hear the most
Most residential egress windows are a one- to two-day job once we are on site. The excavation, the cut, the window, the well, and the drainage all happen in a tight sequence. Interior finishing, if you want us to handle it, adds a little time. We give you a firm timeline after we see the spot.
Usually, yes — cutting a structural opening and adding an egress is permitted work in most Quad Cities jurisdictions. We handle the permitting and the inspection so it is done correctly and on record, which matters when you sell.
Most can, but not all in the same way. The wall type, the depth below grade, buried utilities, and where water sits all shape the plan. That is exactly why every job starts with an inspection instead of a phone quote — occasionally the smart answer is a different location than you first pictured.
Not when the drainage and flashing are done right. Nearly every leaking egress we are called to fix failed at the well drainage, not the glass. We build the opening as a waterproofing detail first, so the window stays dry the way the rest of your foundation should.
Yes. We can trim, seal, and finish the interior so the room looks like the window was always there. If you are finishing the whole basement, we will coordinate the opening so it drops right into your plan.
That is one of the most common reasons homeowners call. A legal basement bedroom requires a compliant emergency escape, and a properly sized egress window is what makes that room count.
Beyond the safety, a legal egress can convert unfinished square footage into livable, appraisable space — sometimes changing a home’s bedroom count. The exact value depends on your home and market, but it is one of the better-returning basement improvements.
We install quality egress-configured casements, including the Alliance Windows by Midway Windgate shown throughout this page. We size and spec the unit to your opening and to the code minimums for your jurisdiction.
Often, yes. Frozen ground makes excavation harder and we plan around hard freezes, but egress work happens year-round in the Quad Cities. We will tell you honestly if weather should push your date.
Maintaining egress windows and window wells
Window wells are one of the most common ways water gets into an otherwise dry basement — and they’re easy to keep in shape with a little seasonal attention:
- Clear the well of leaves, dirt, and debris so water can reach the drain instead of pooling against the window.
- Check the well drain after storms — if the well holds water, the drain may be clogged or failing.
- Keep gravel topped up at the bottom of the well so water can percolate down.
- Inspect well covers for cracks or gaps, and confirm they still shed rain and snow.
- Test egress operation — an egress window is also an emergency exit, so make sure it opens freely and the well ladder is sound.
Basement windows, egress windows, and window wells are all part of the Behncke Annual Basement & Foundation Checkup. If a well keeps flooding no matter how often you clear it, the drainage itself may need work — see Window Well Drainage.
Thinking about installing an egress window?
We will take an honest look at your basement, explain your options, answer your questions, and put a detailed written estimate in your hands — usually within one business day. No high-pressure sales tactics, no commissioned salespeople.
Thanks — we’ve got it.
We’ll follow up within one business day to set up your free on-site estimate.
Explore related repairs & solutions
Prefer to pay monthly?
Spread your project into manageable payments through our independent third-party financing partners. Financing is optional, and approval and terms are set by the provider.
Recent Work
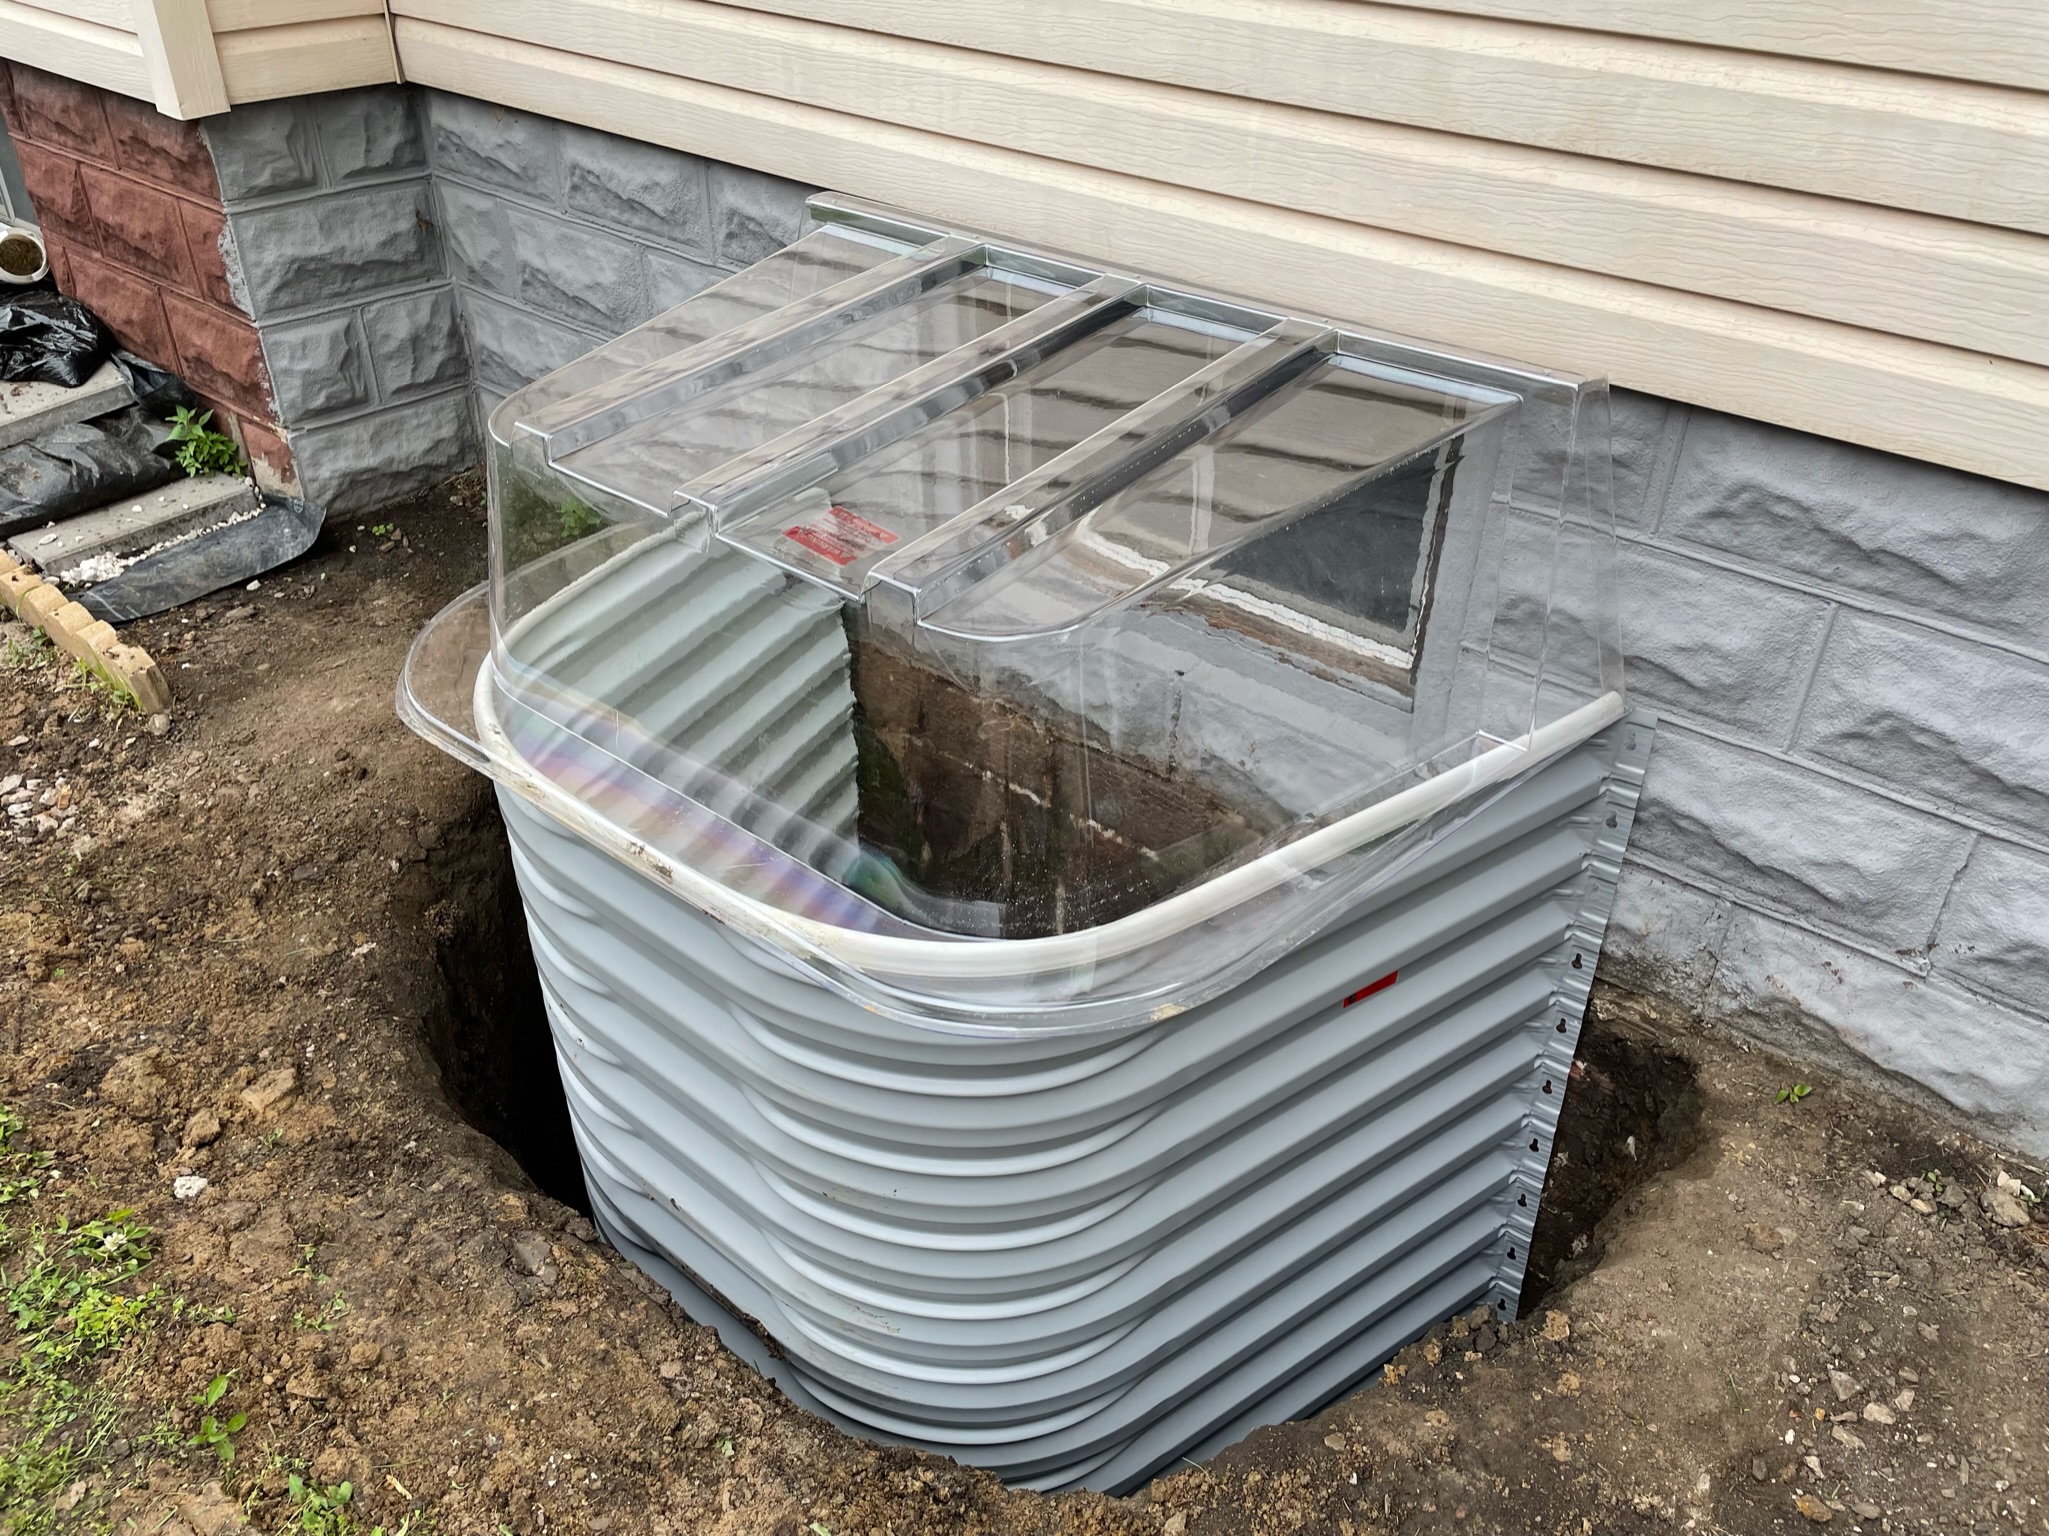
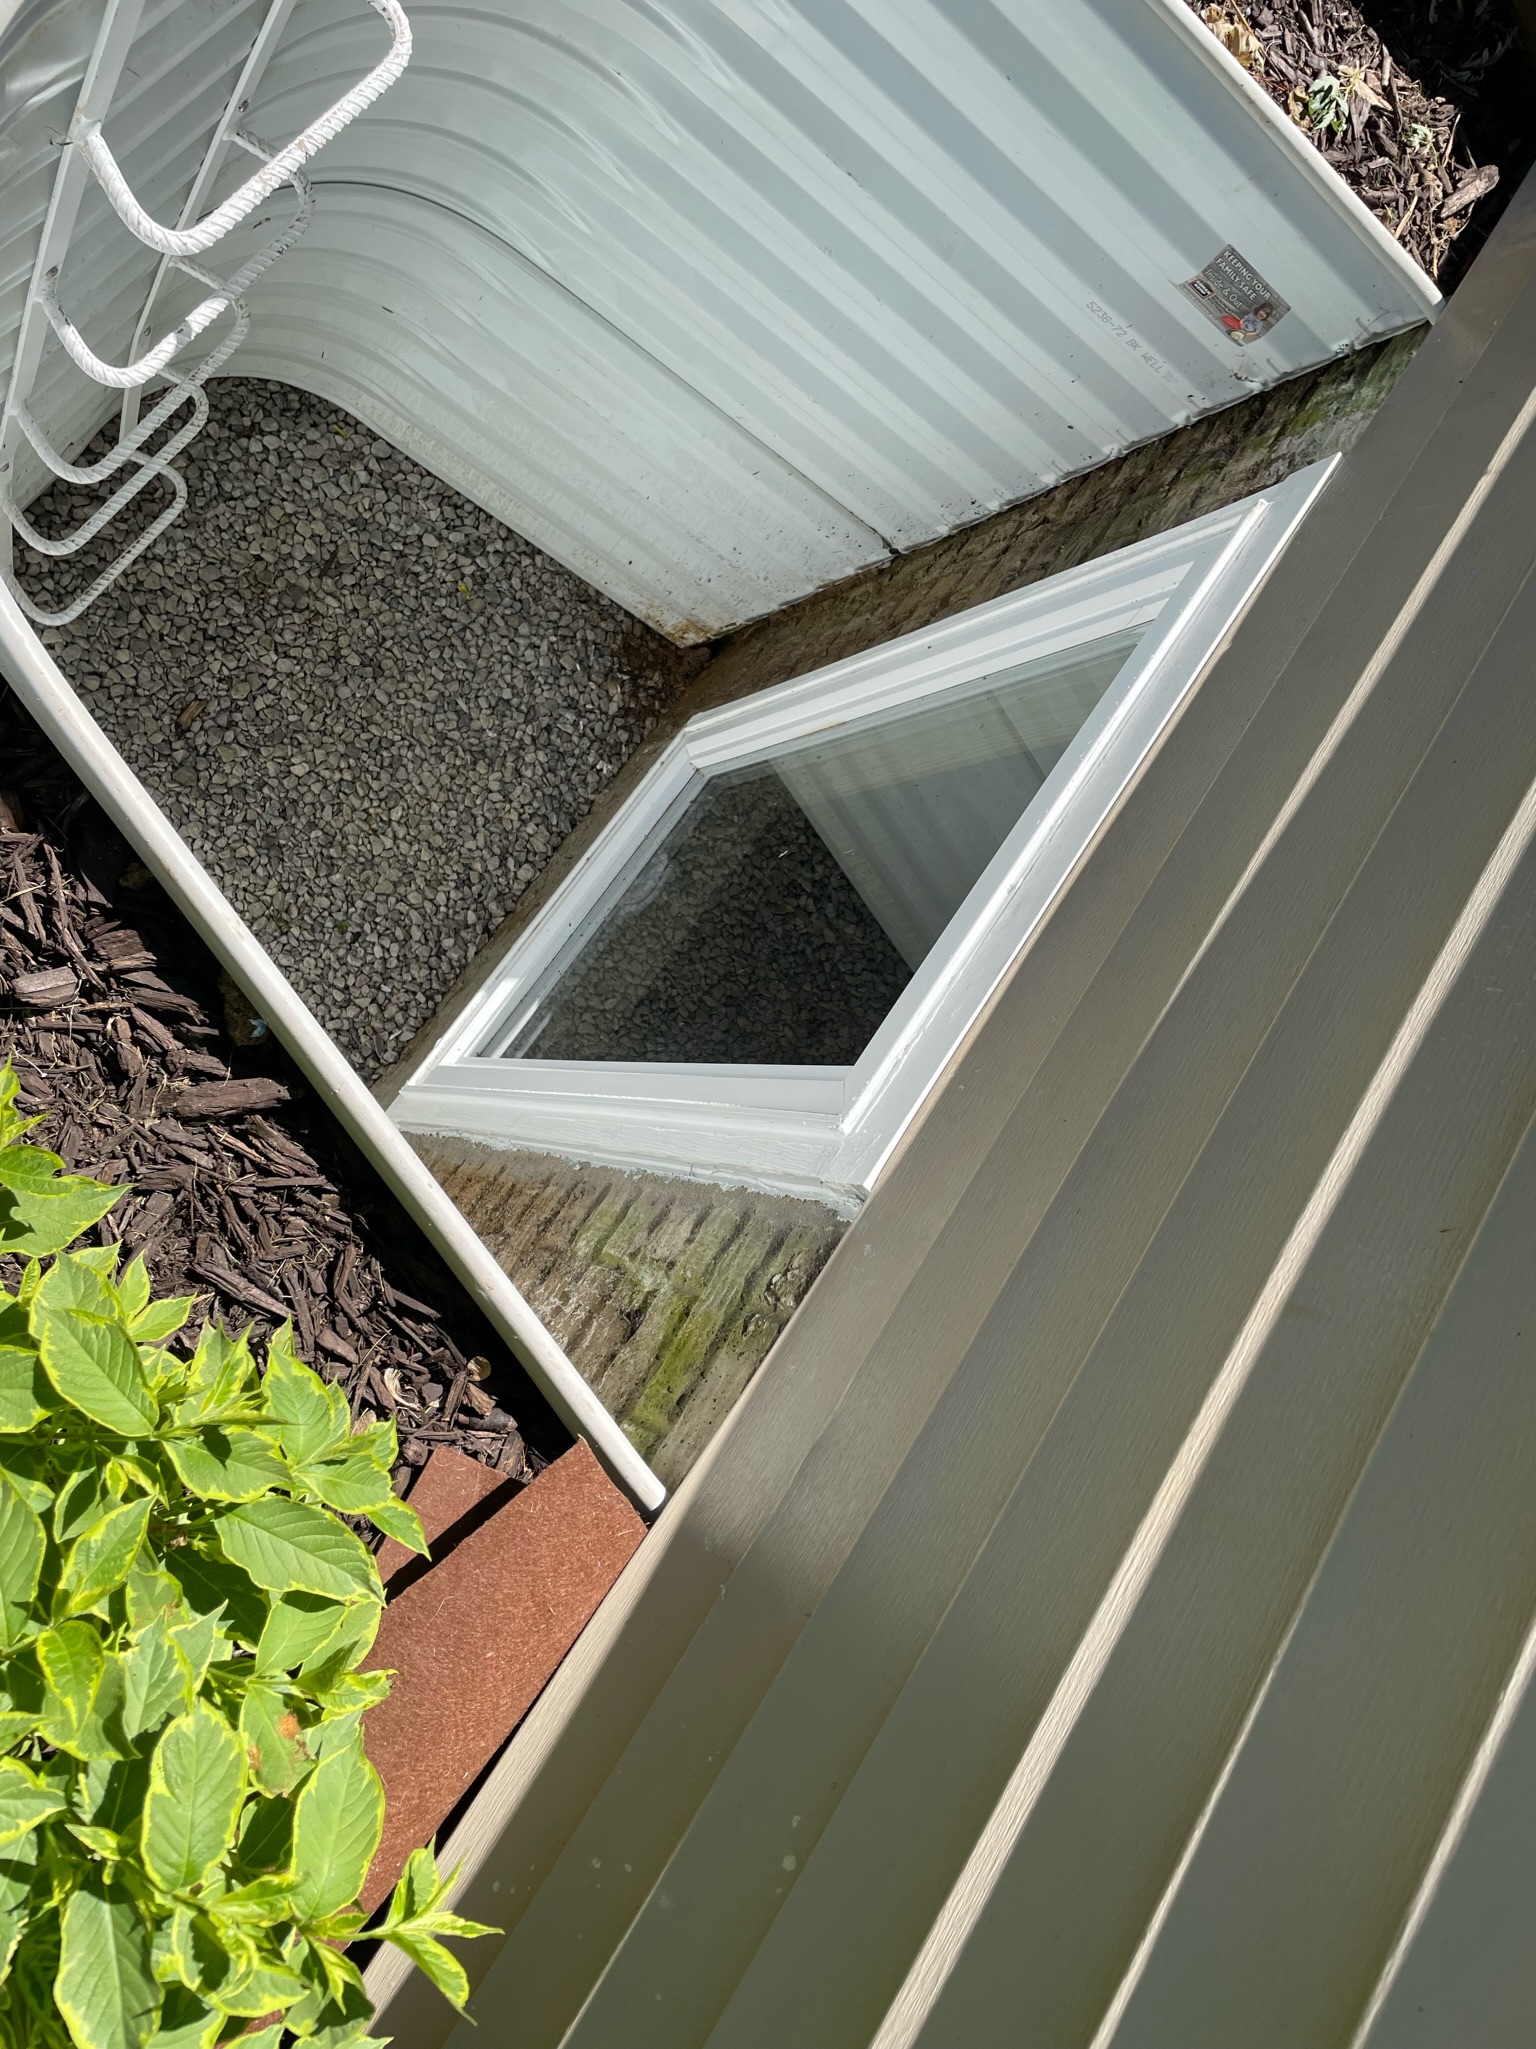
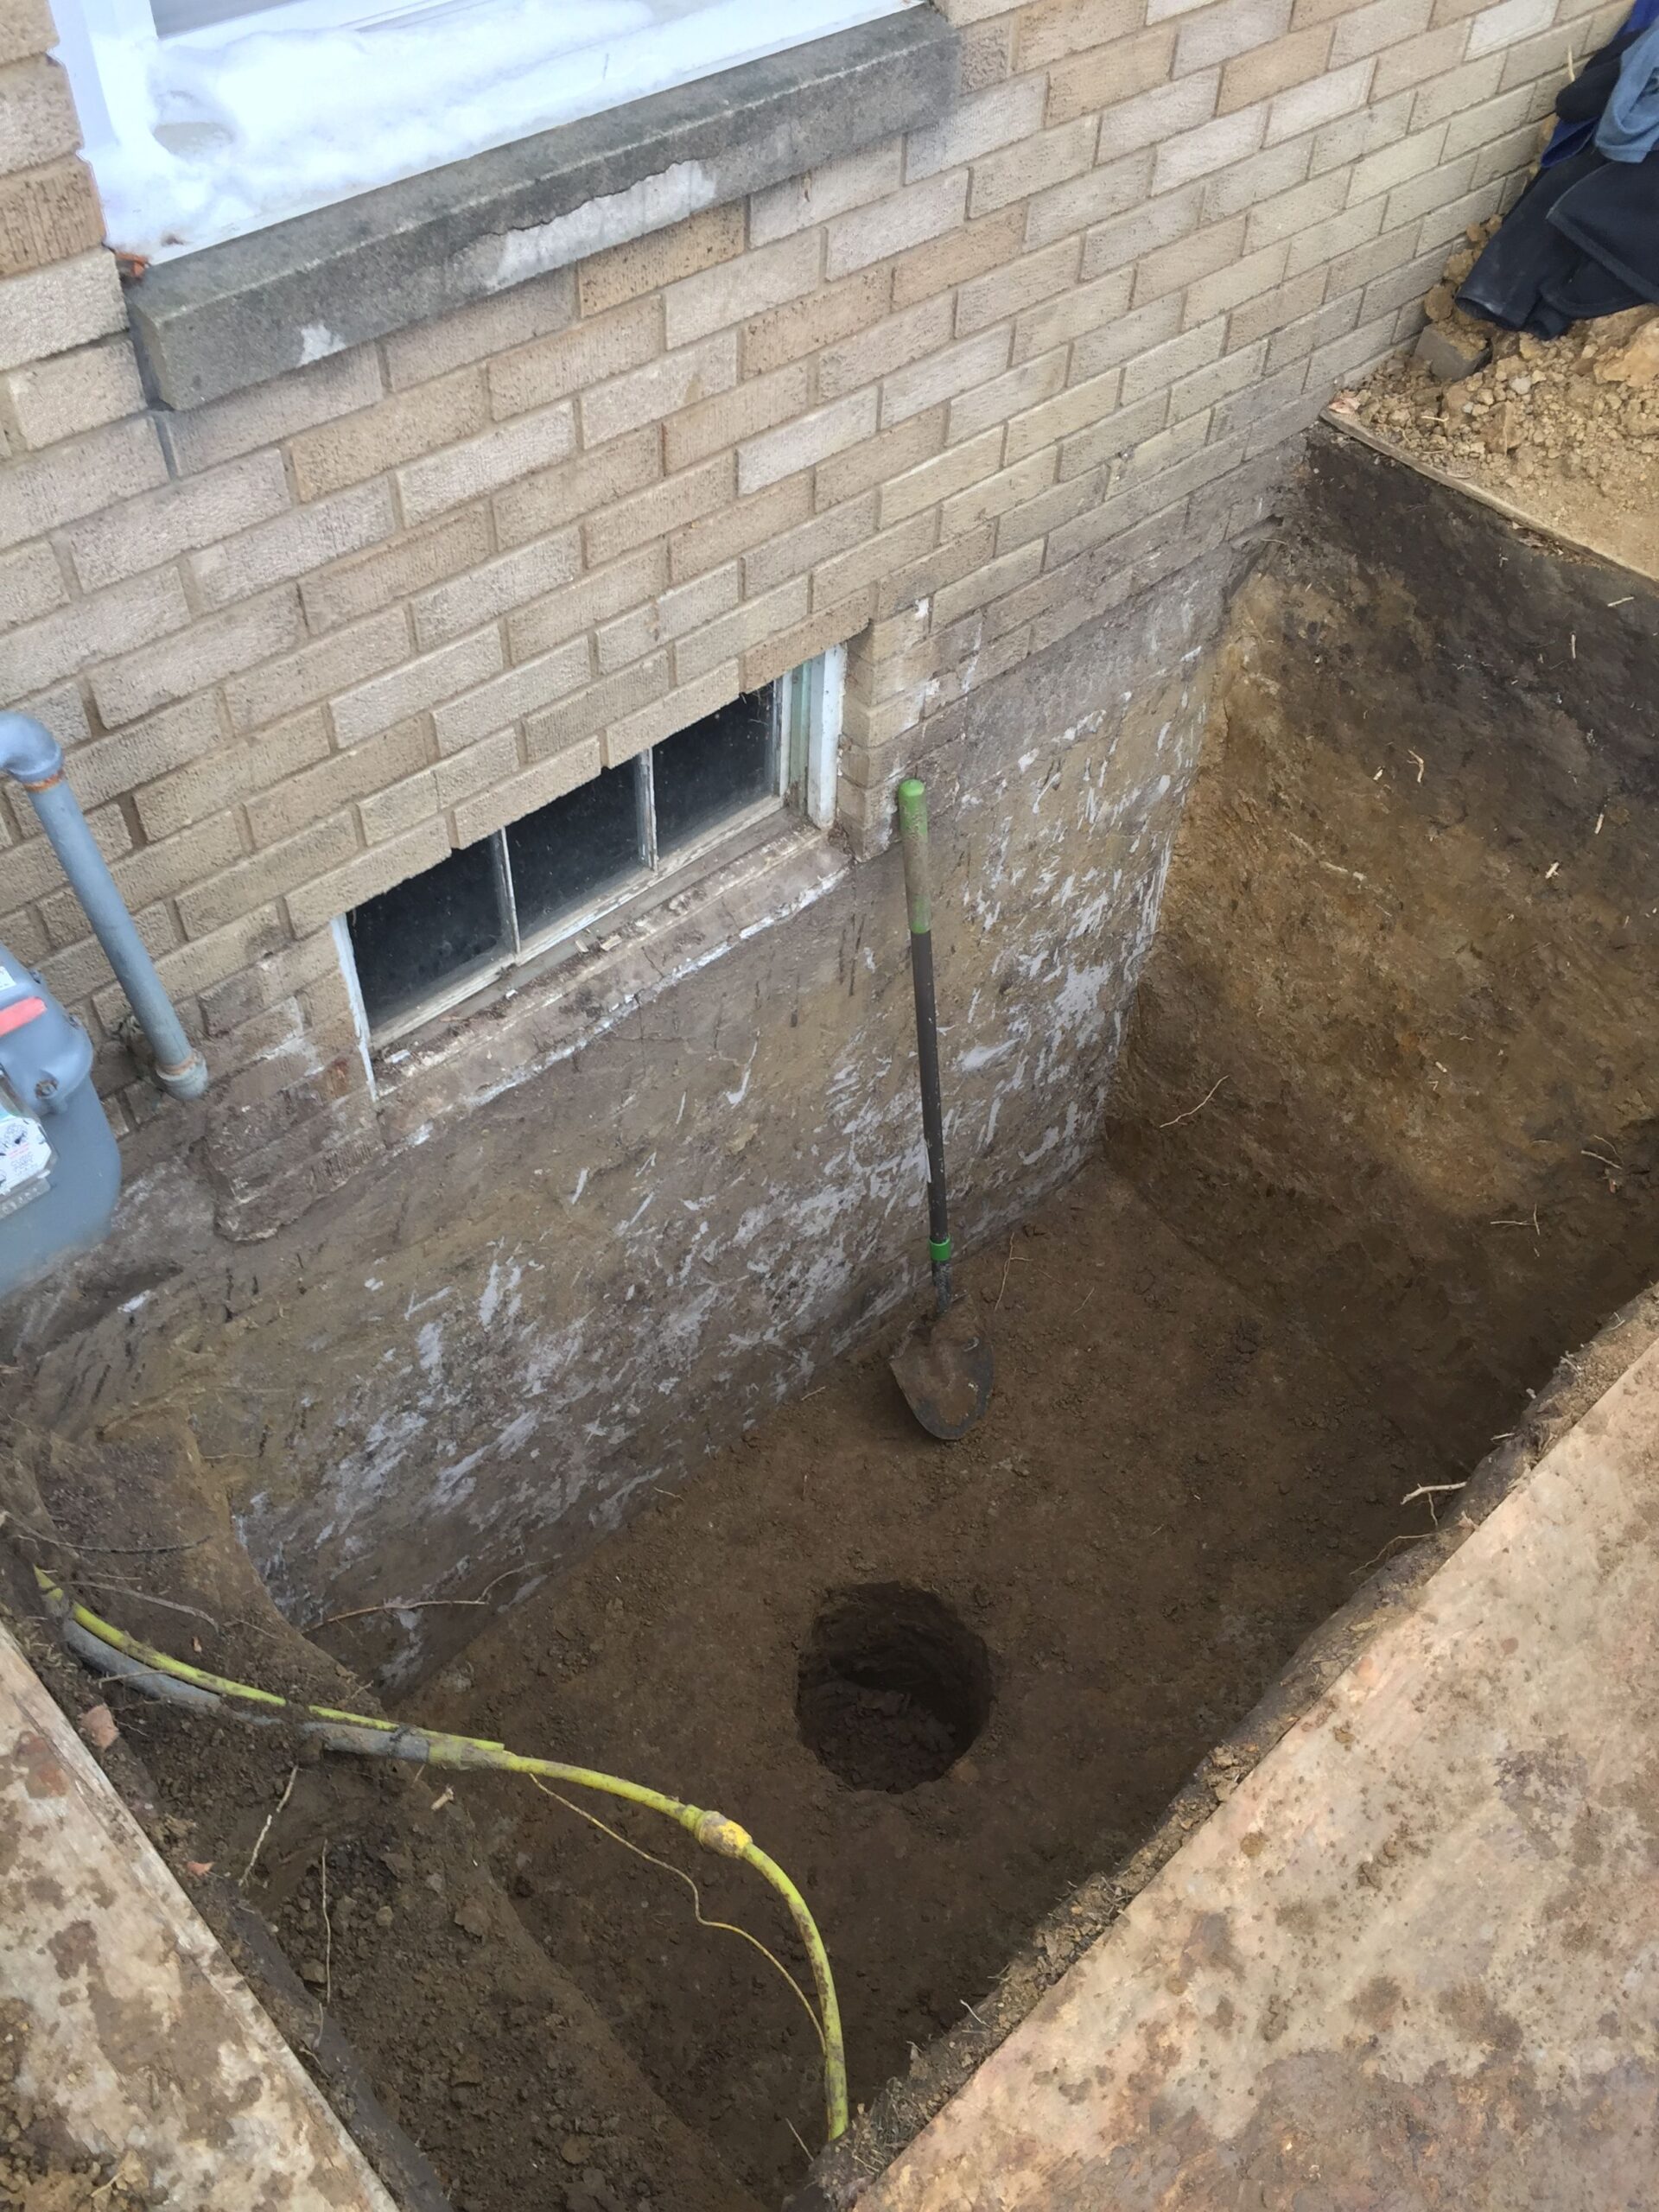
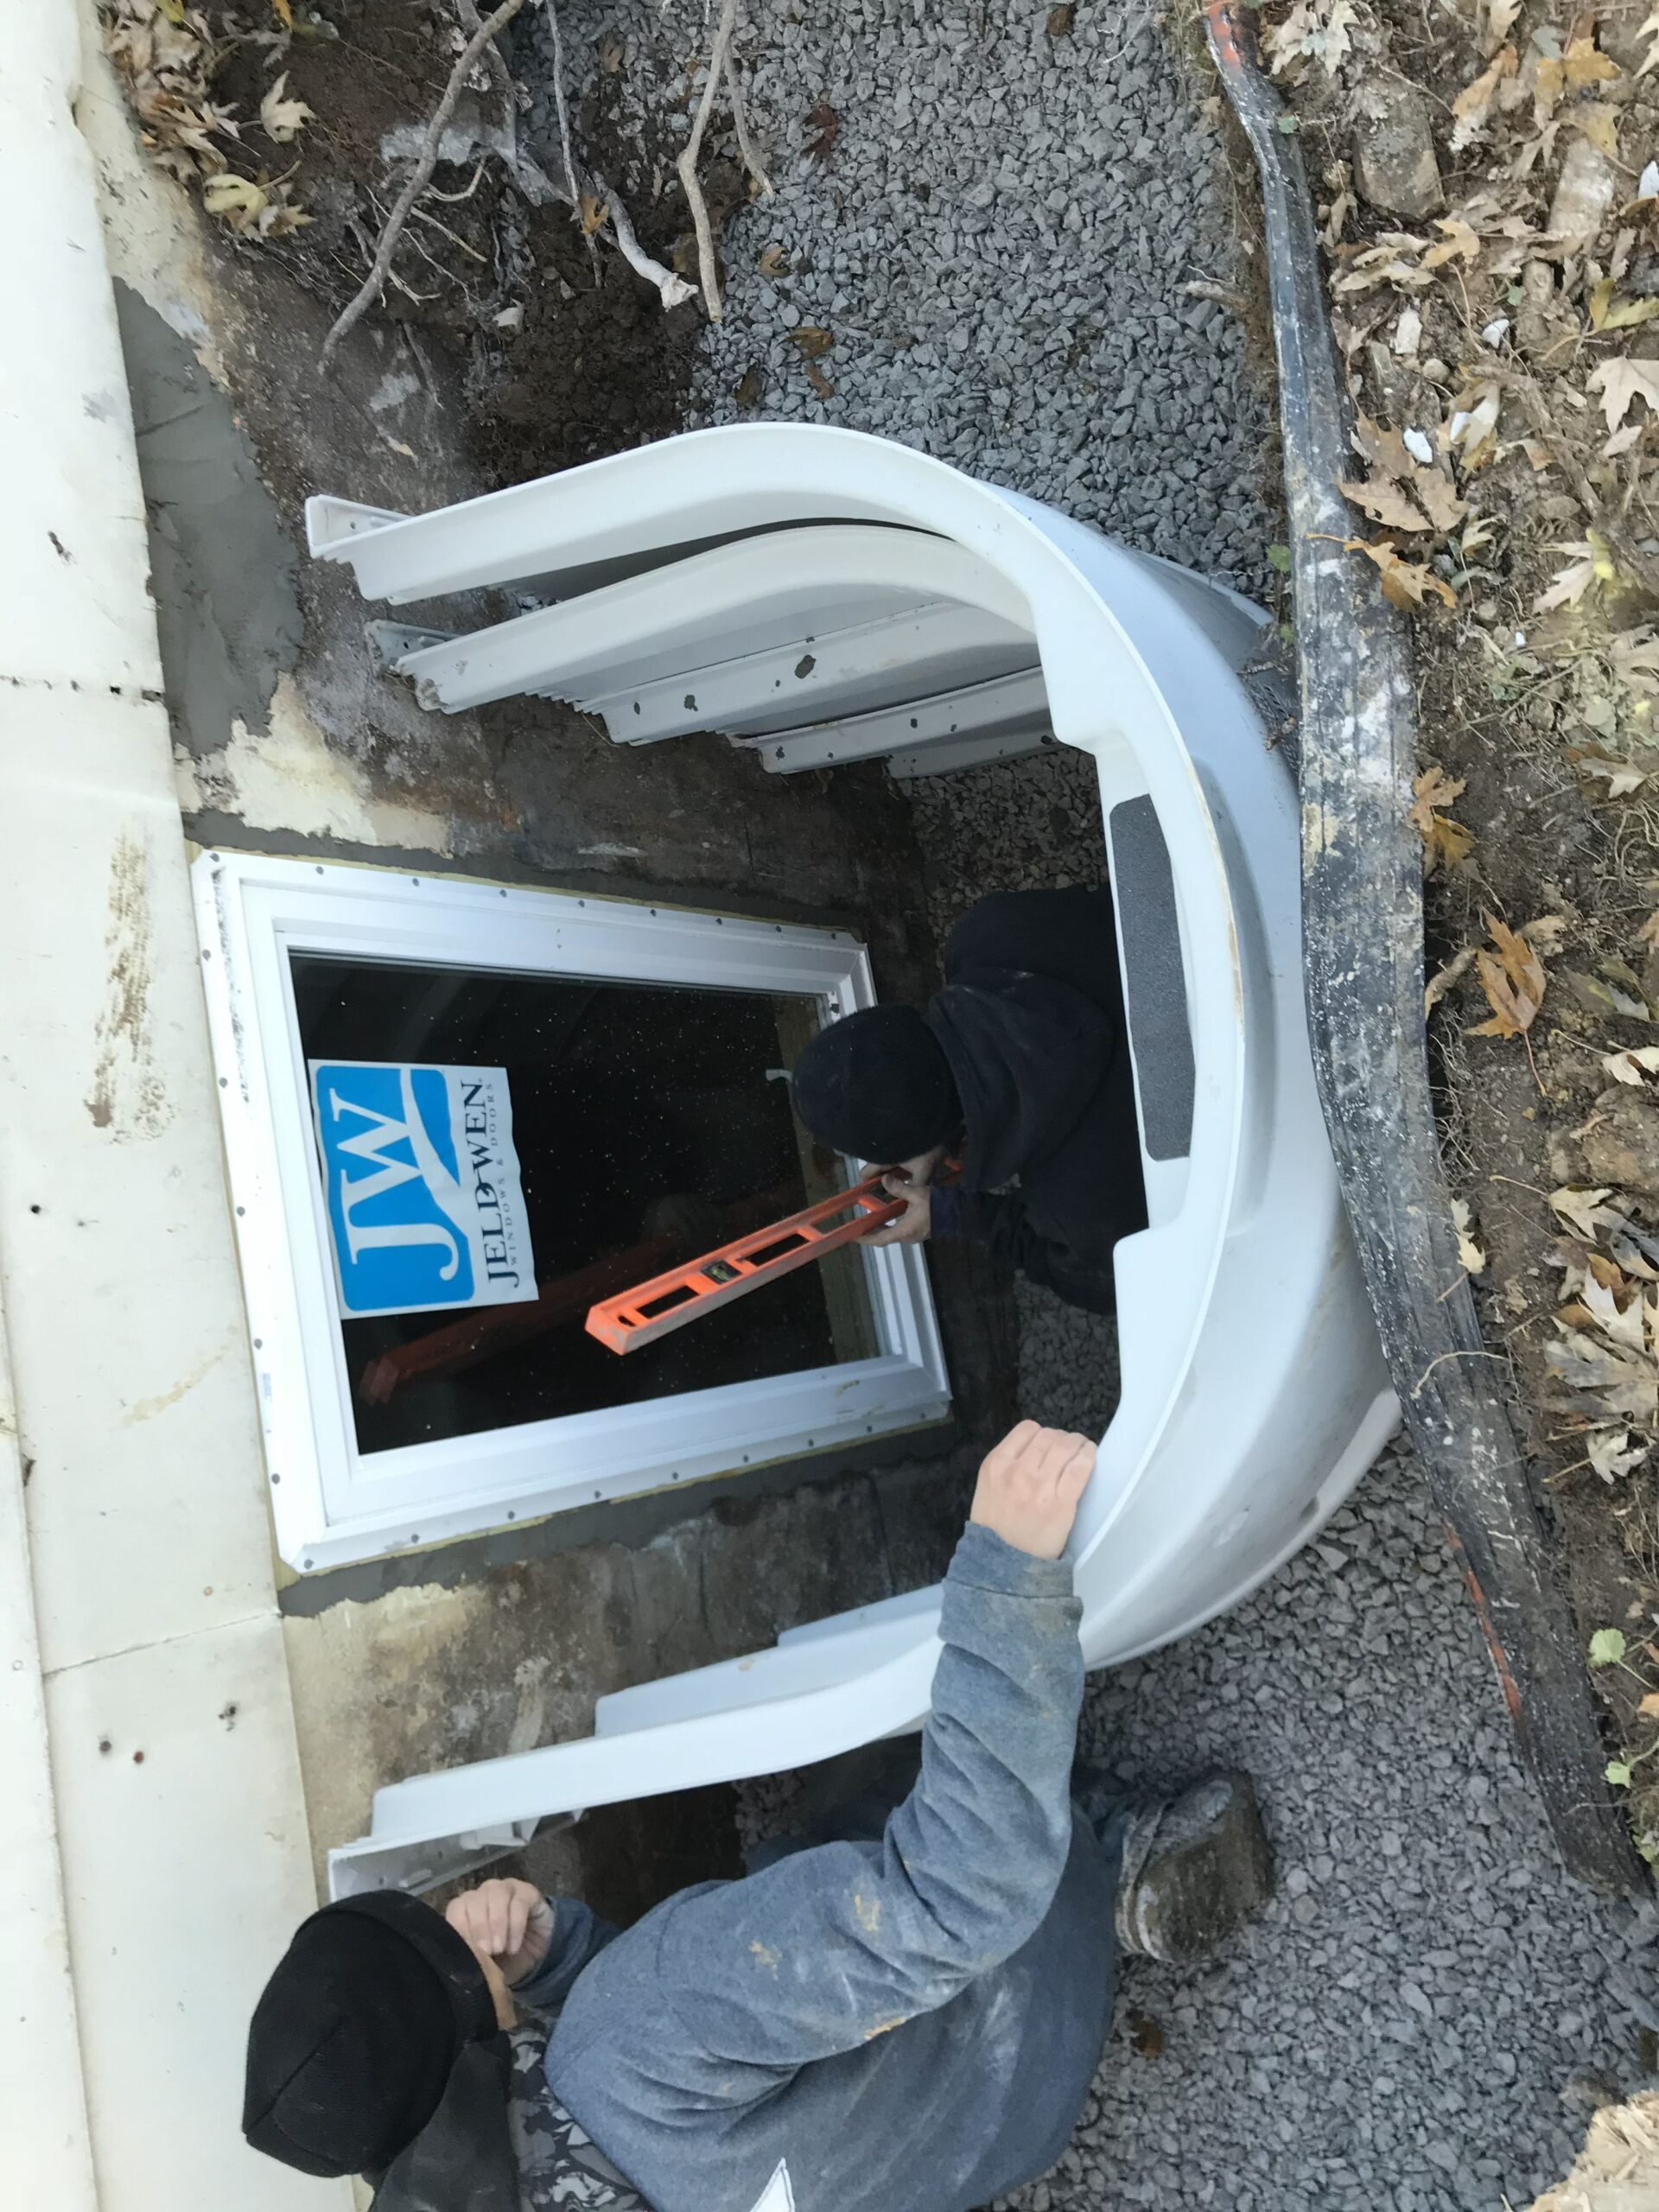
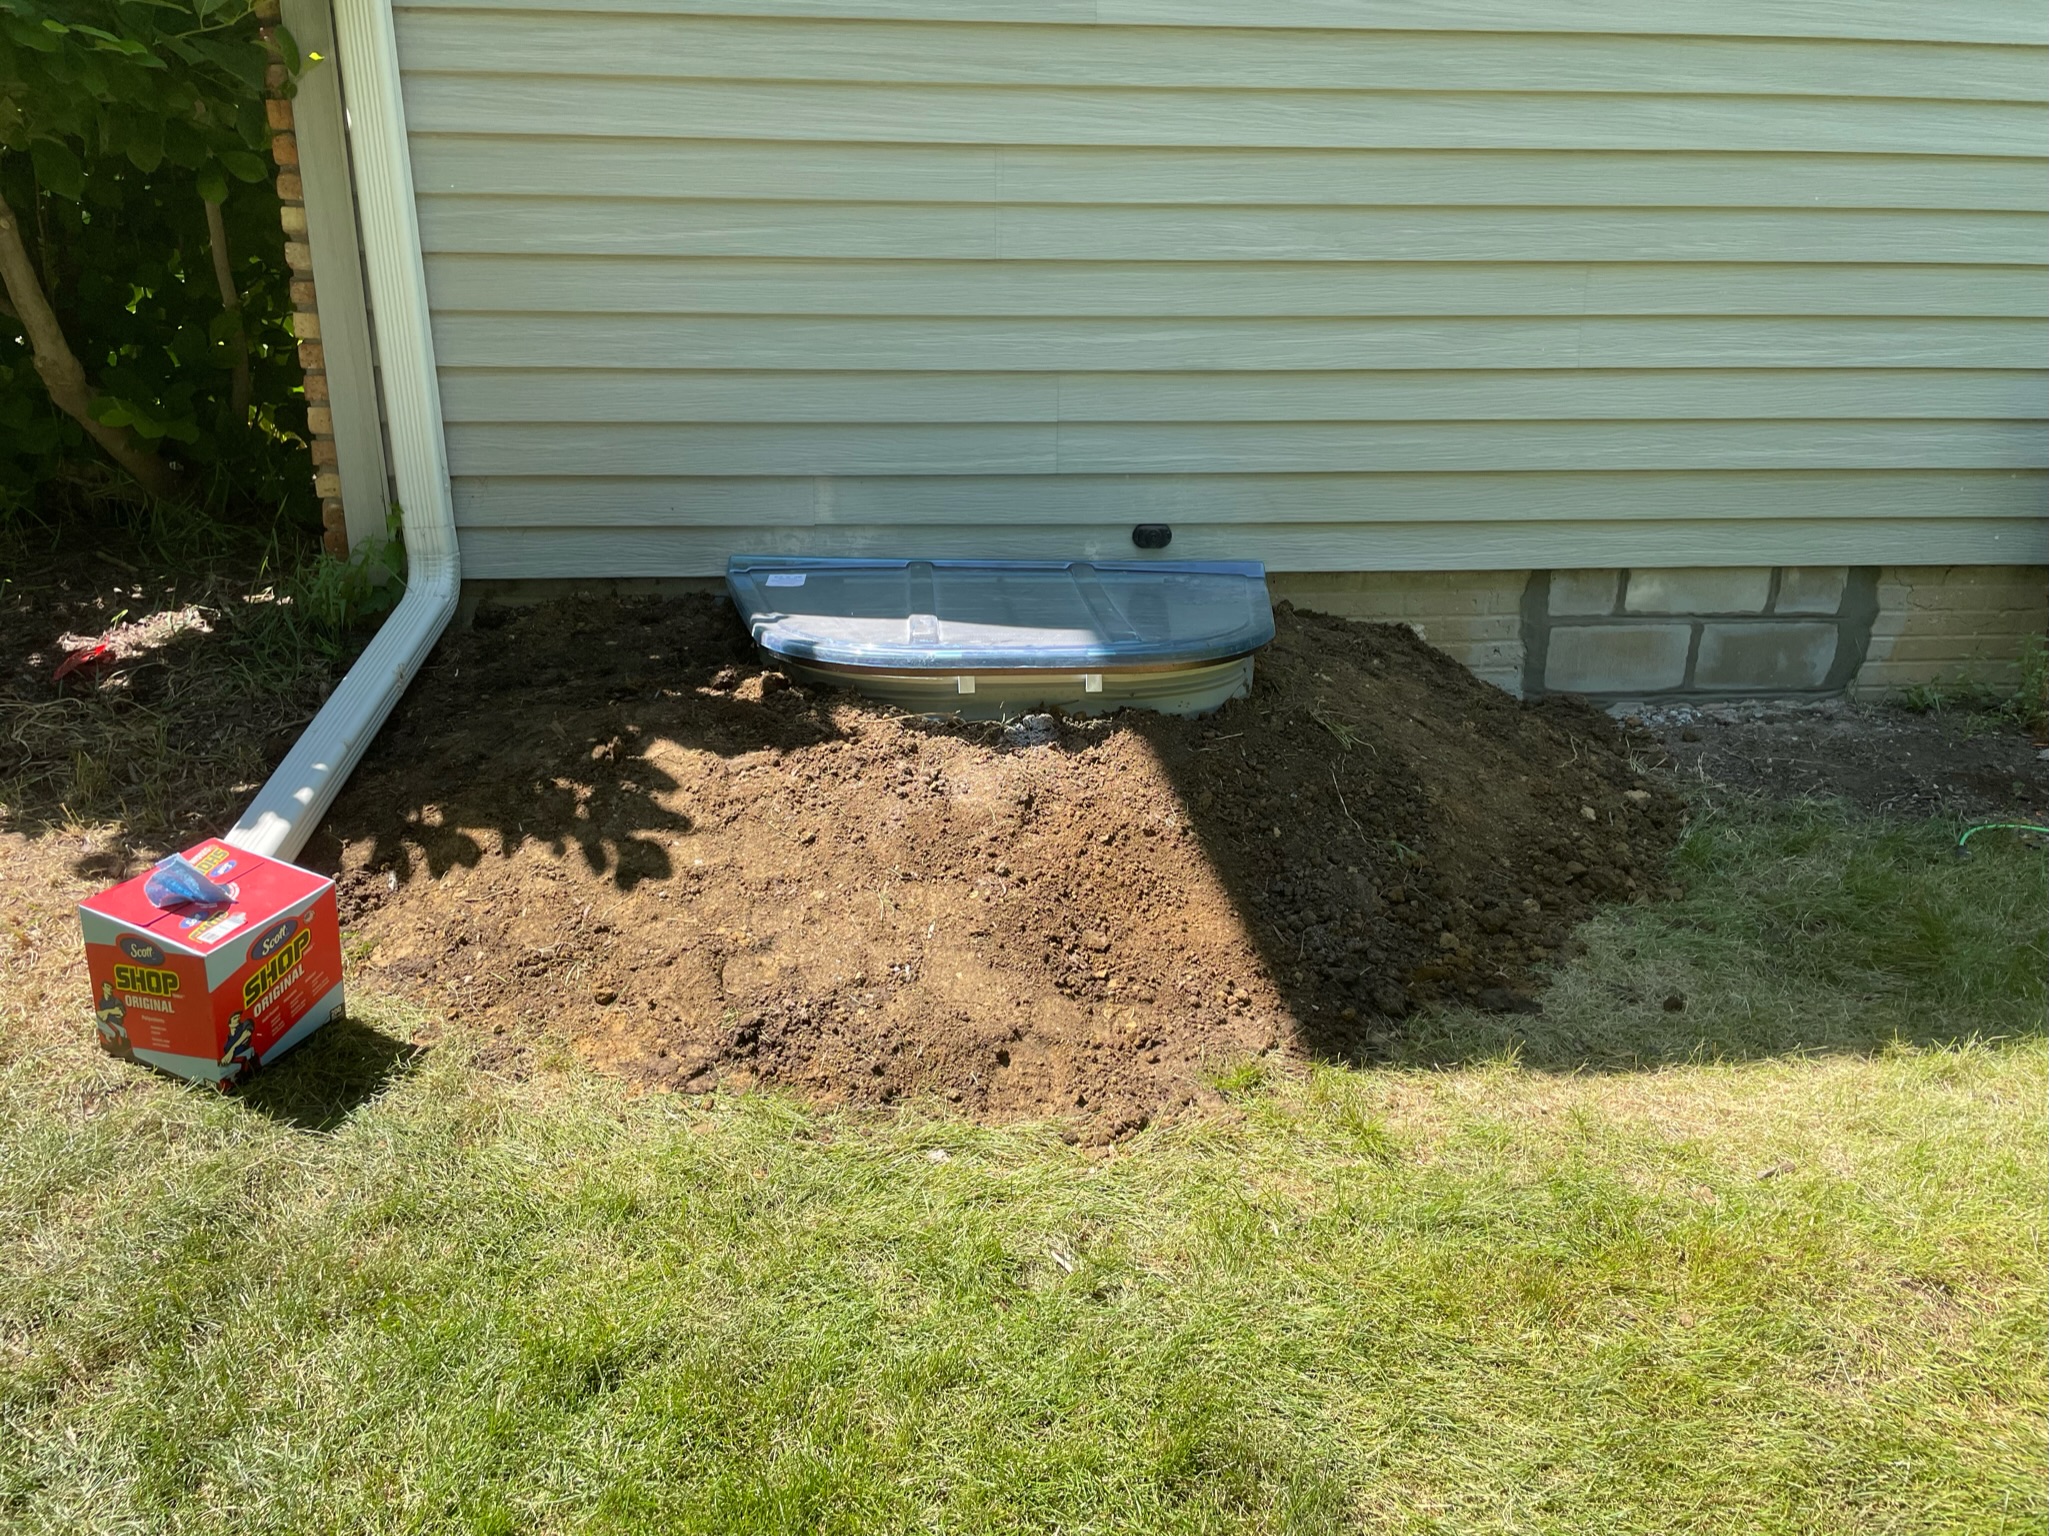
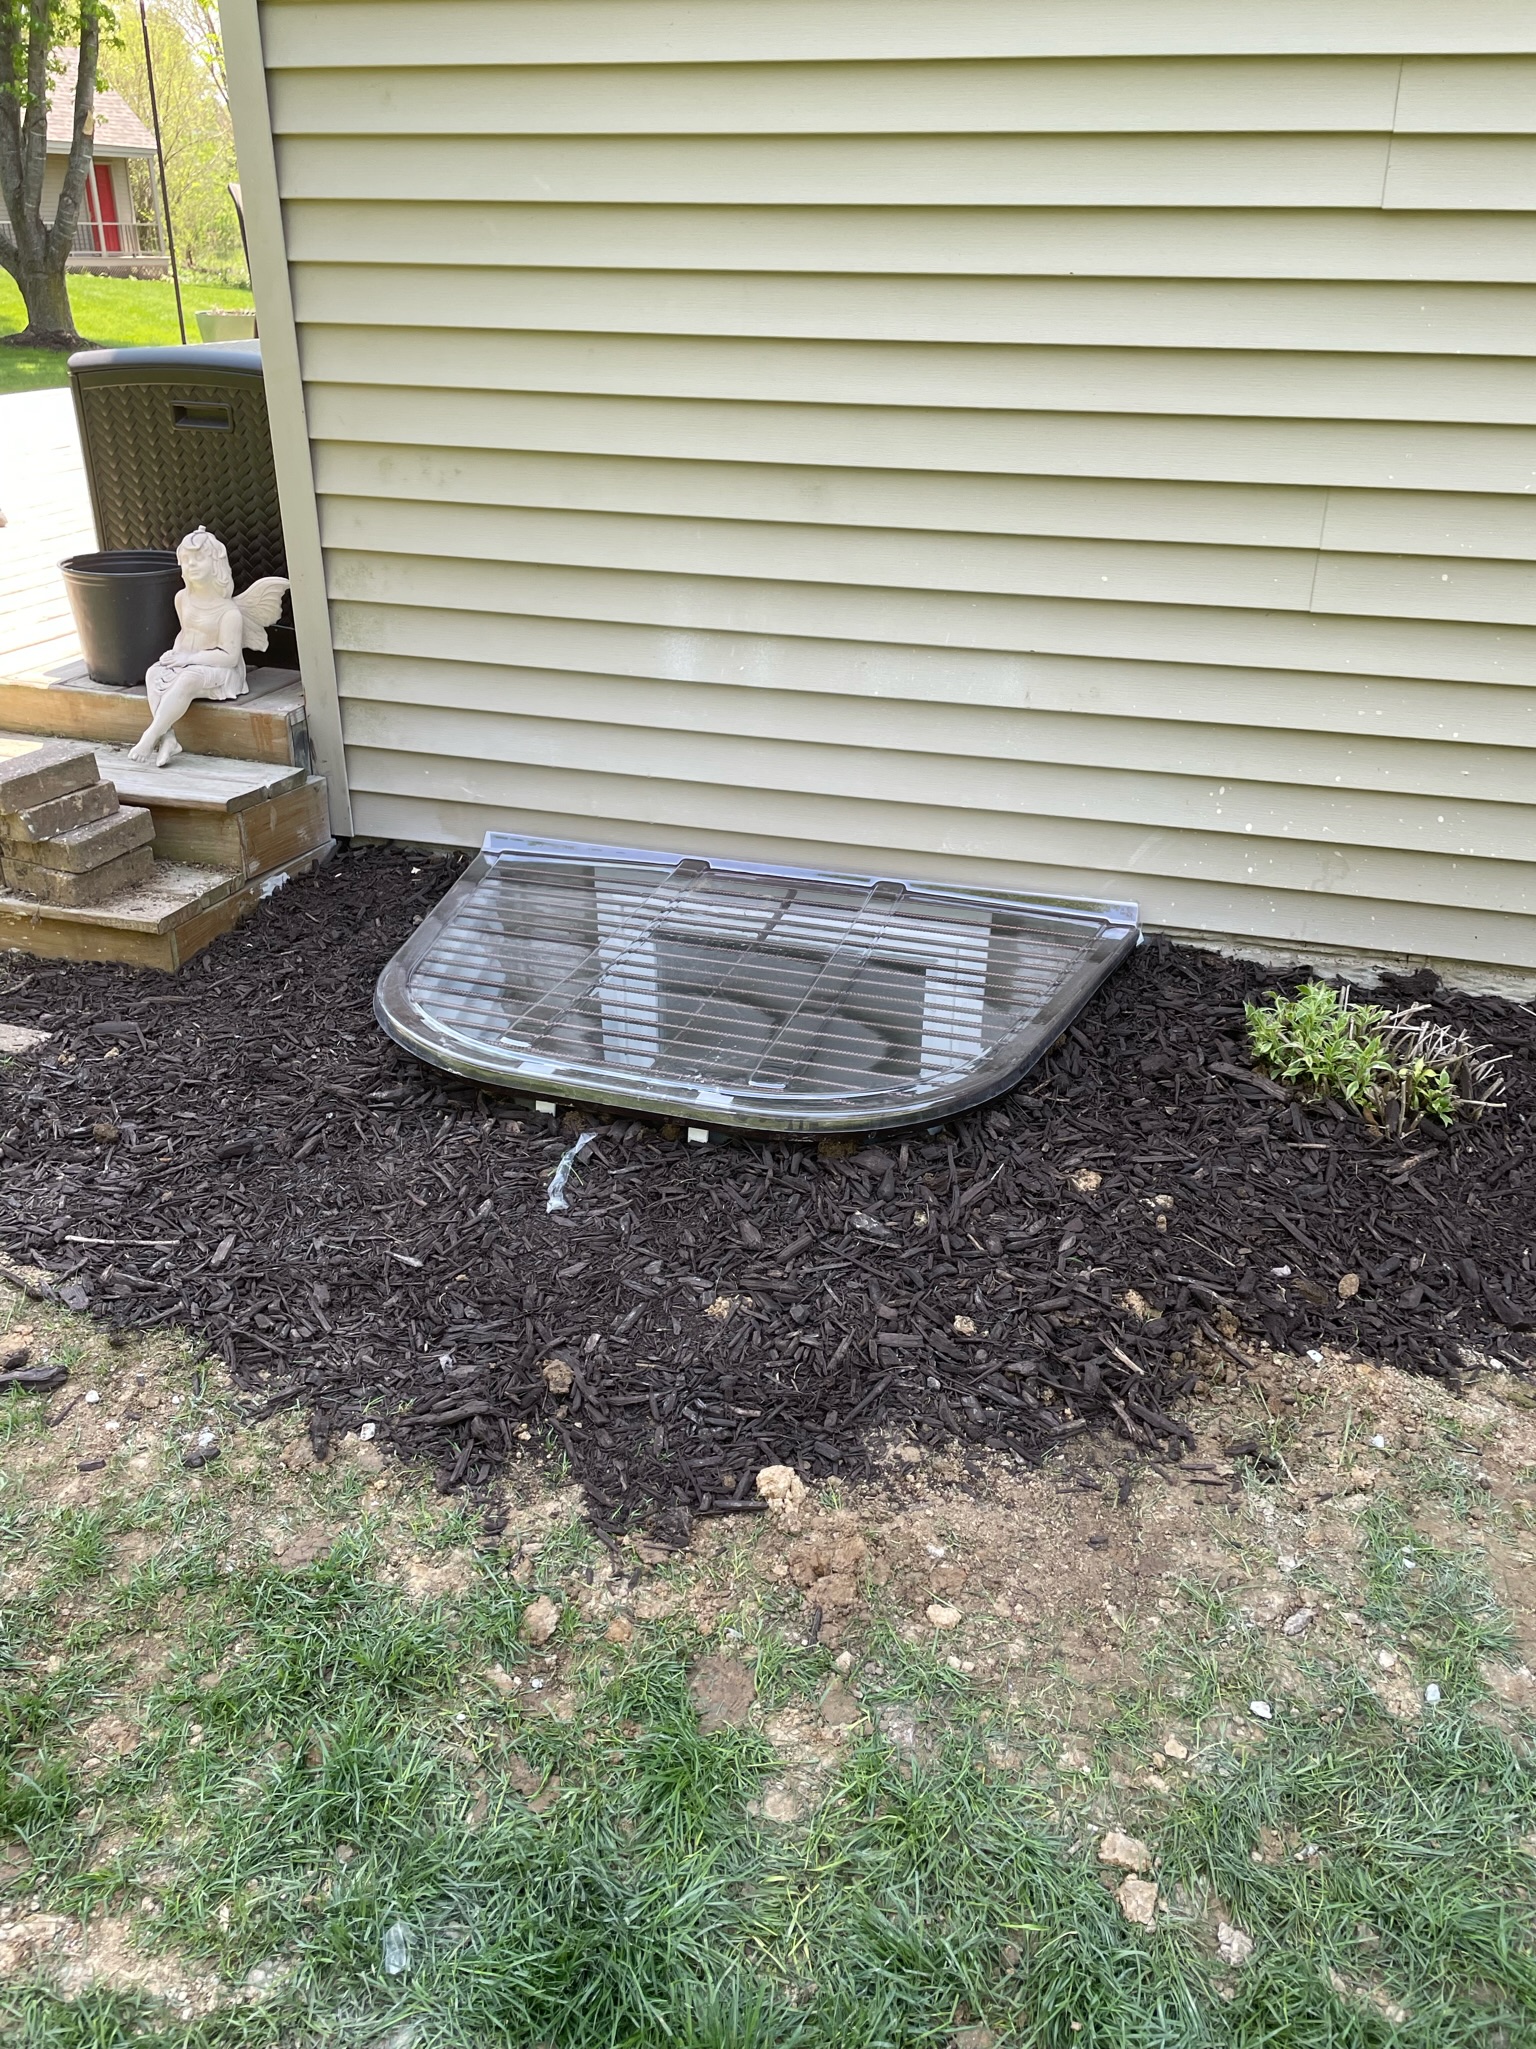
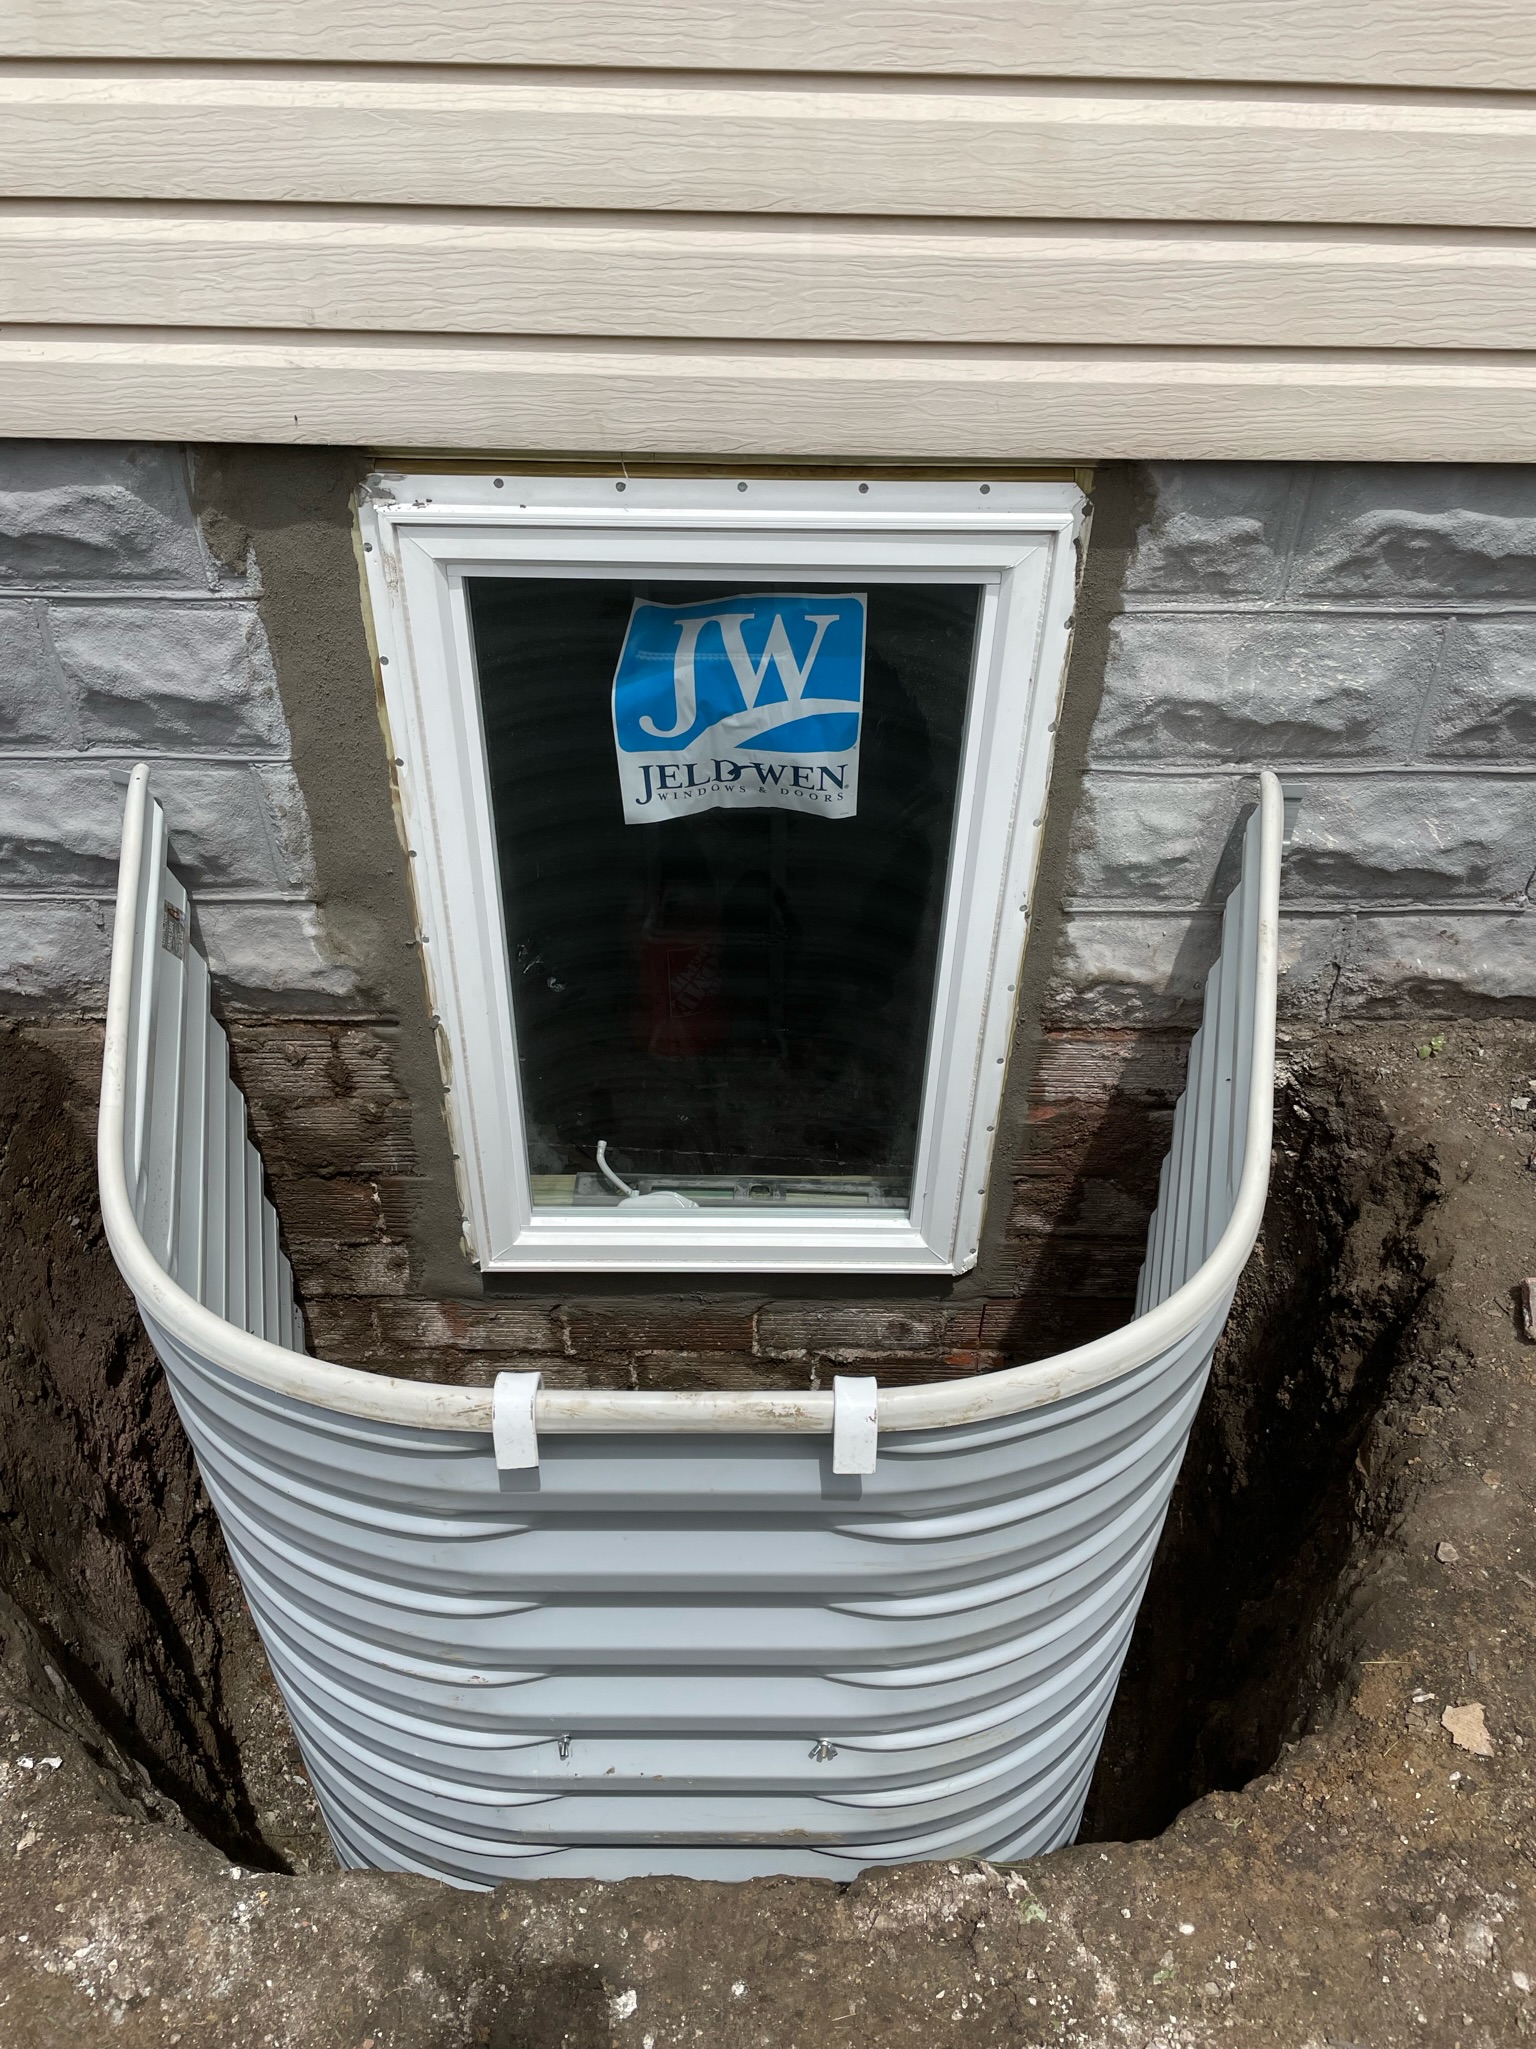
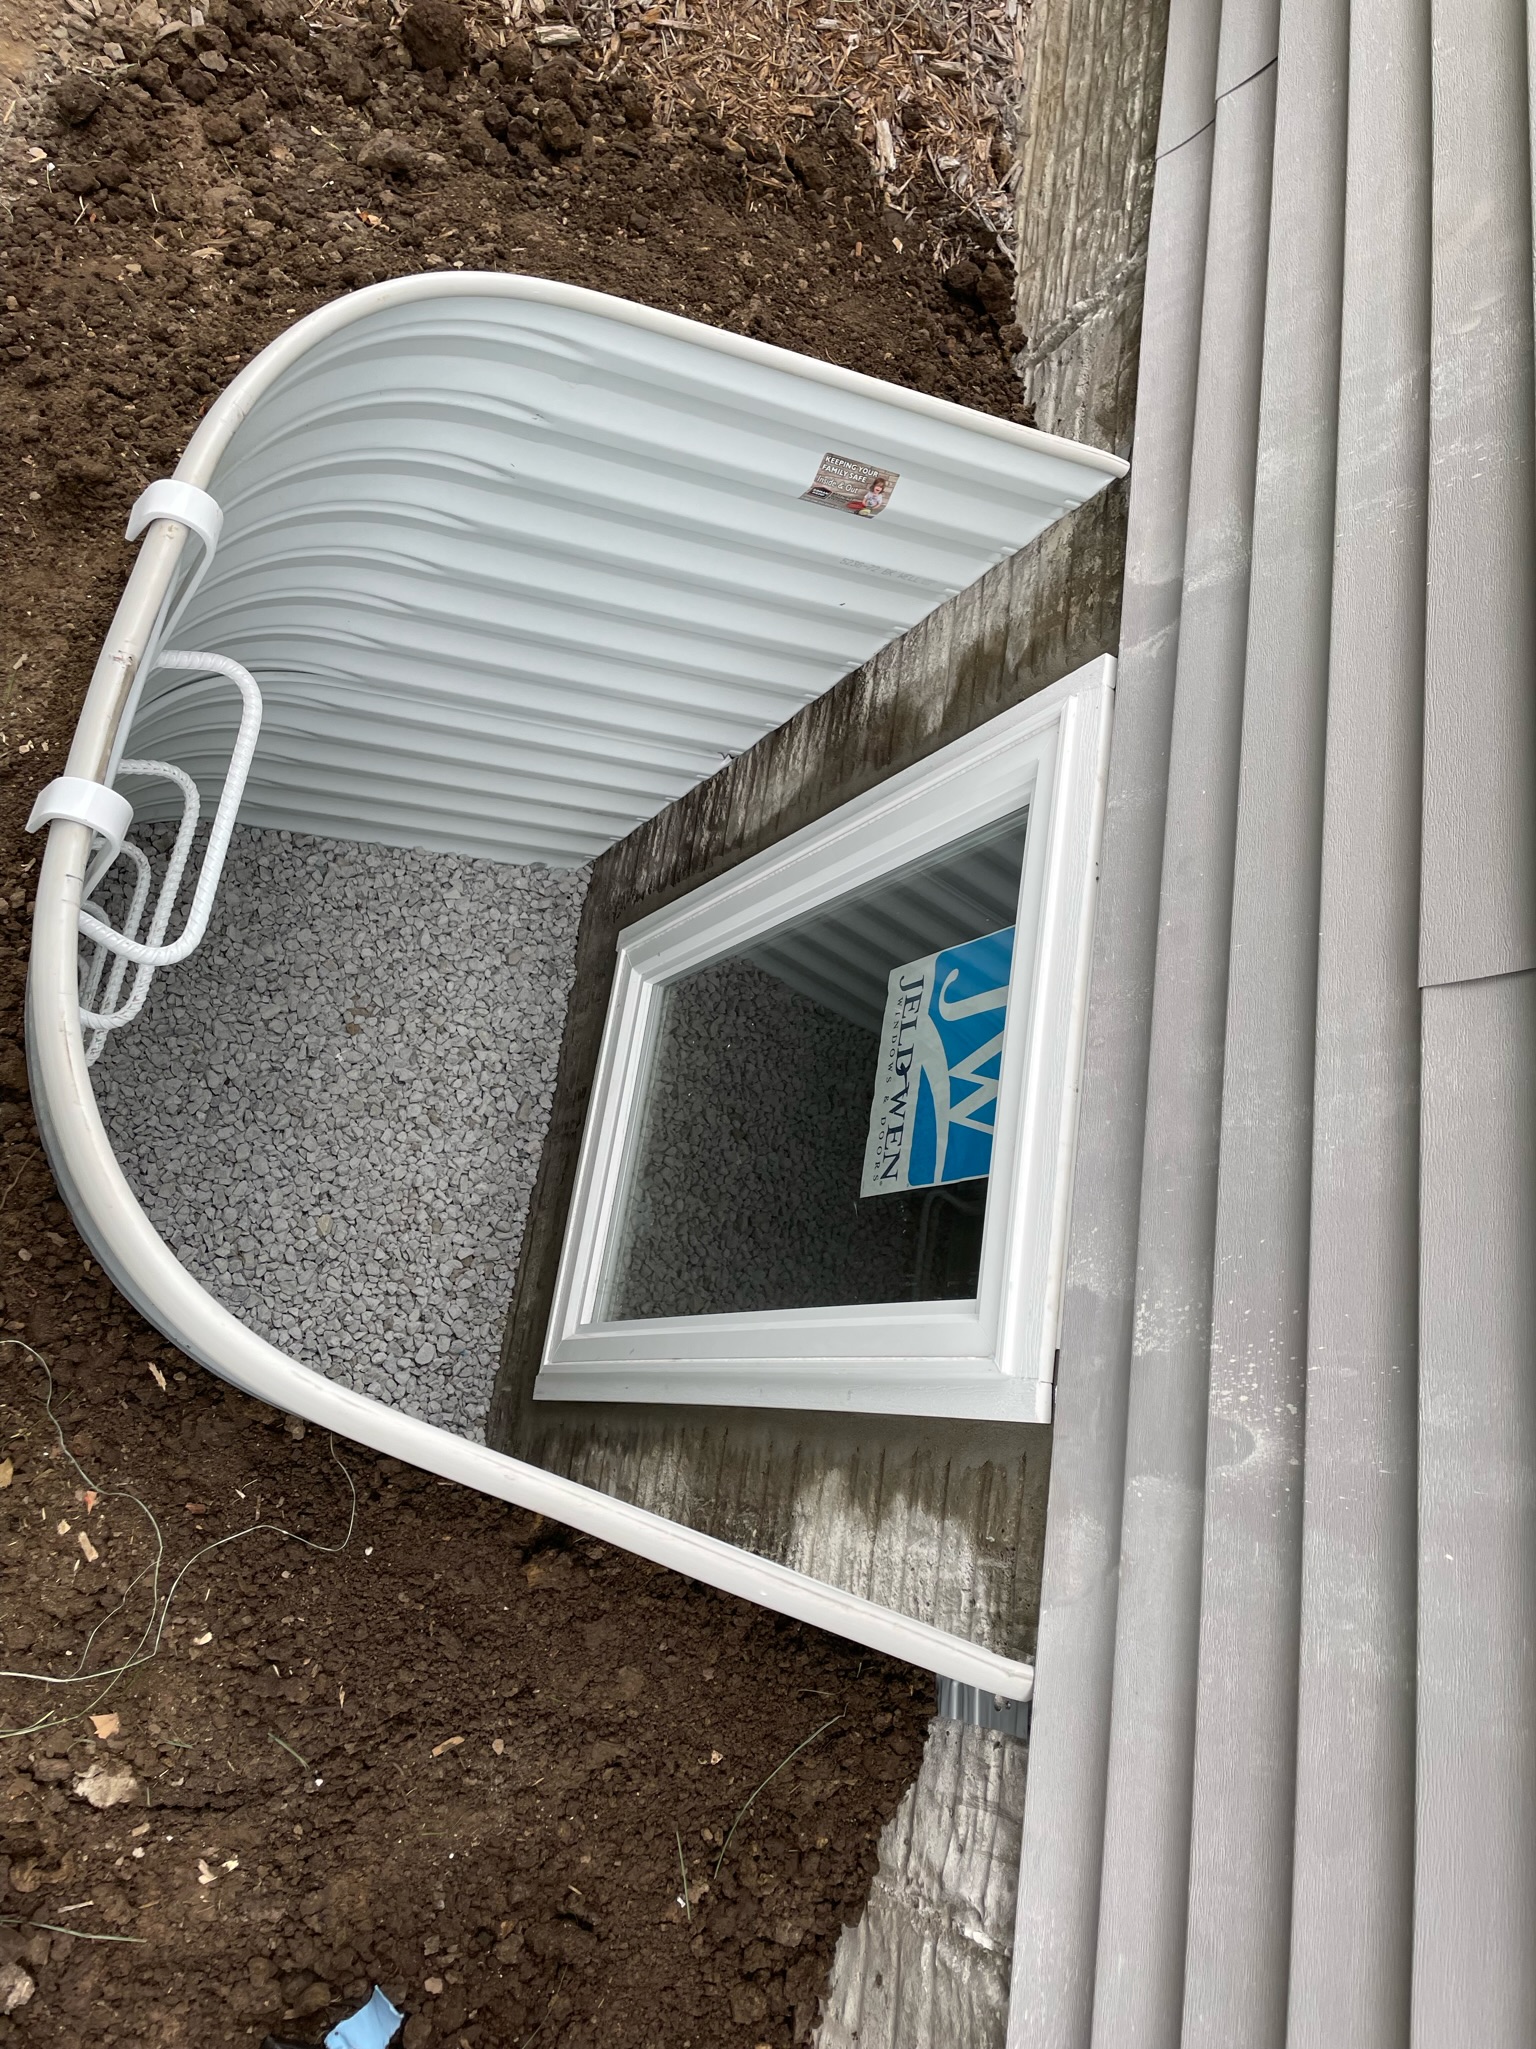
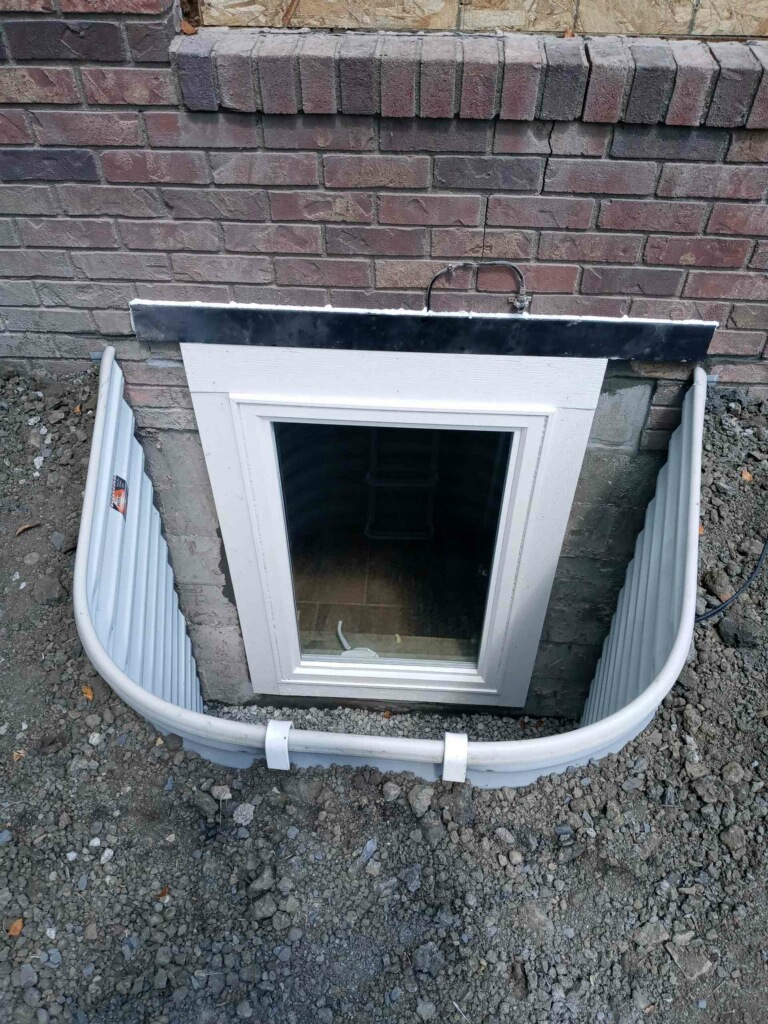
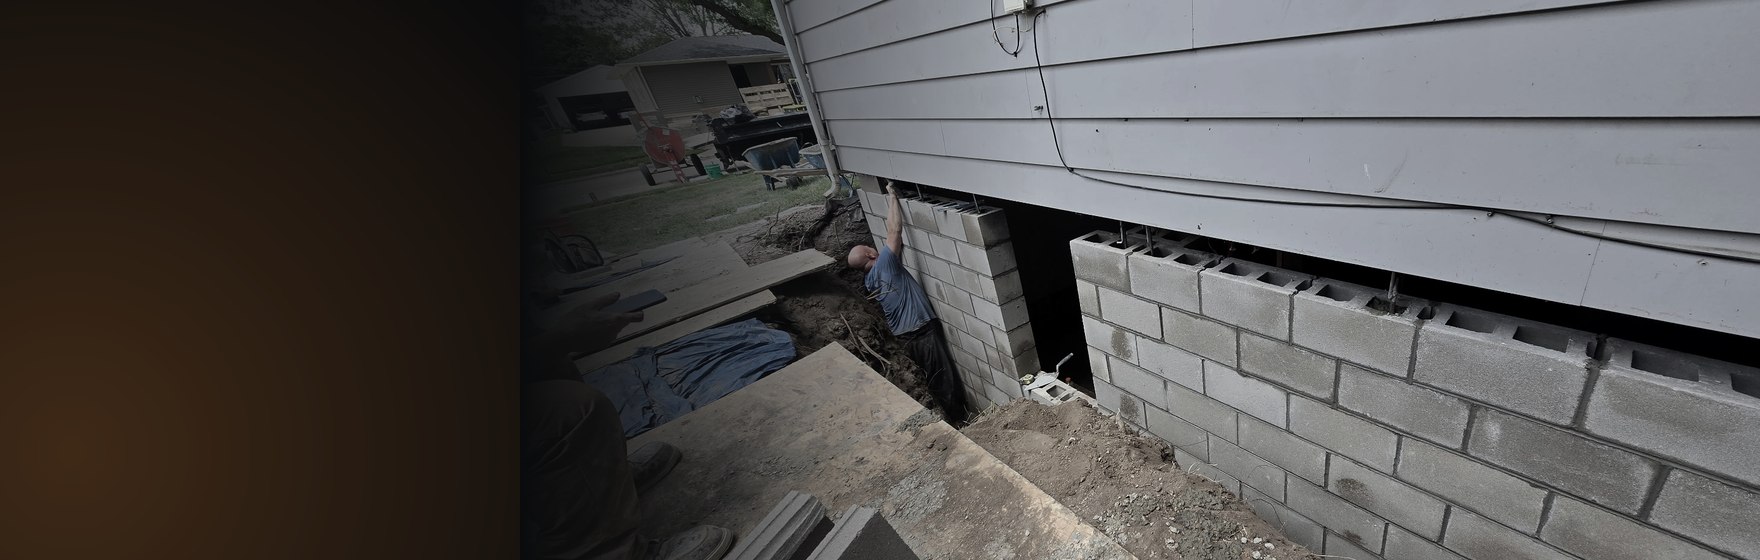
Recent Egress Window Projects
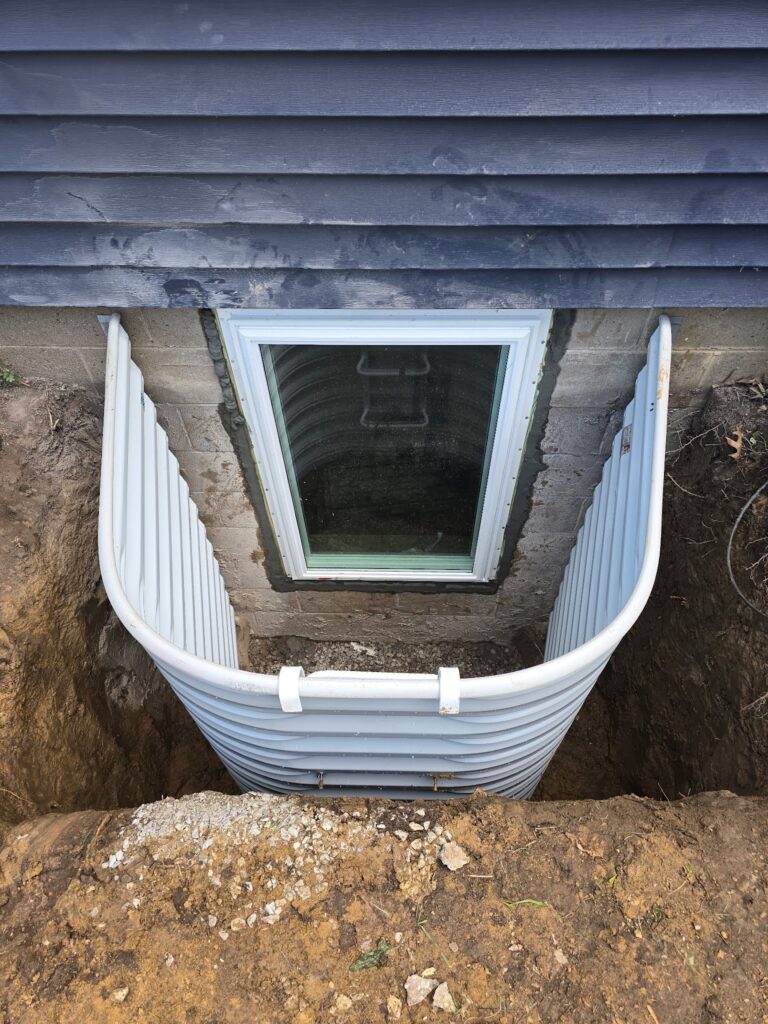
 Egress Window Installation — Davenport, IowaDavenportA professionally installed, code-aware egress window and window well for a Davenport, Iowa basement — safe emergency egress and added natural light.
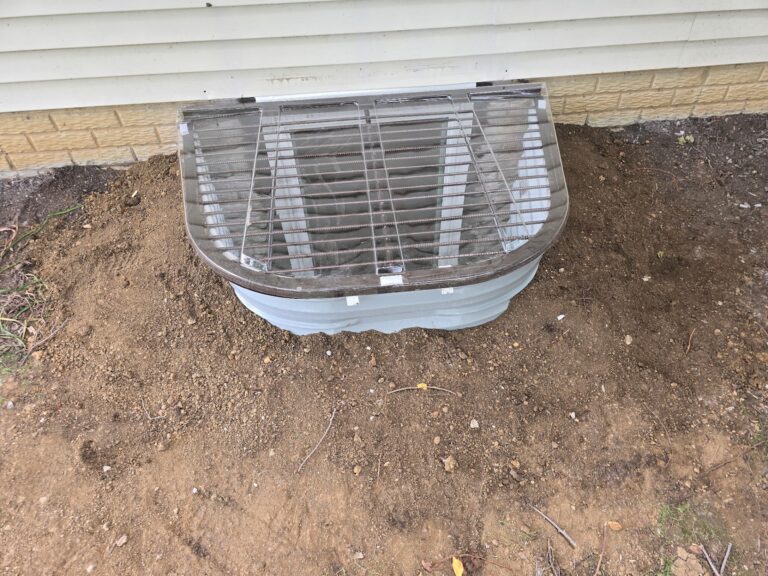
 Egress Window Well Replacement — Bettendorf, IowaBettendorfAn undersized basement window well in Bettendorf, Iowa, replaced with a larger, code-compliant egress well and a new protective cover — restoring a sa…
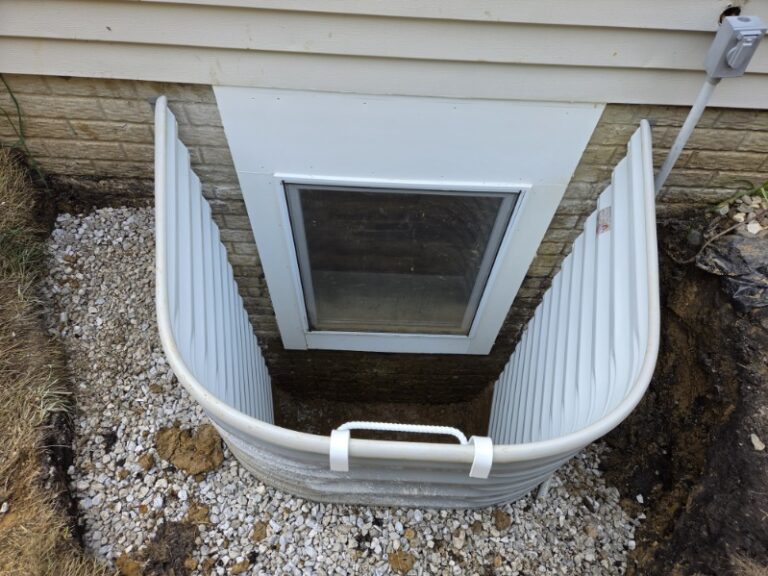 Egress Window Drainage Repair — Bettendorf, IowaBettendorfAn egress window well in Bettendorf, Iowa, that had been set too high was excavated, re-set to the proper depth below the sill, and rebuilt with clean…
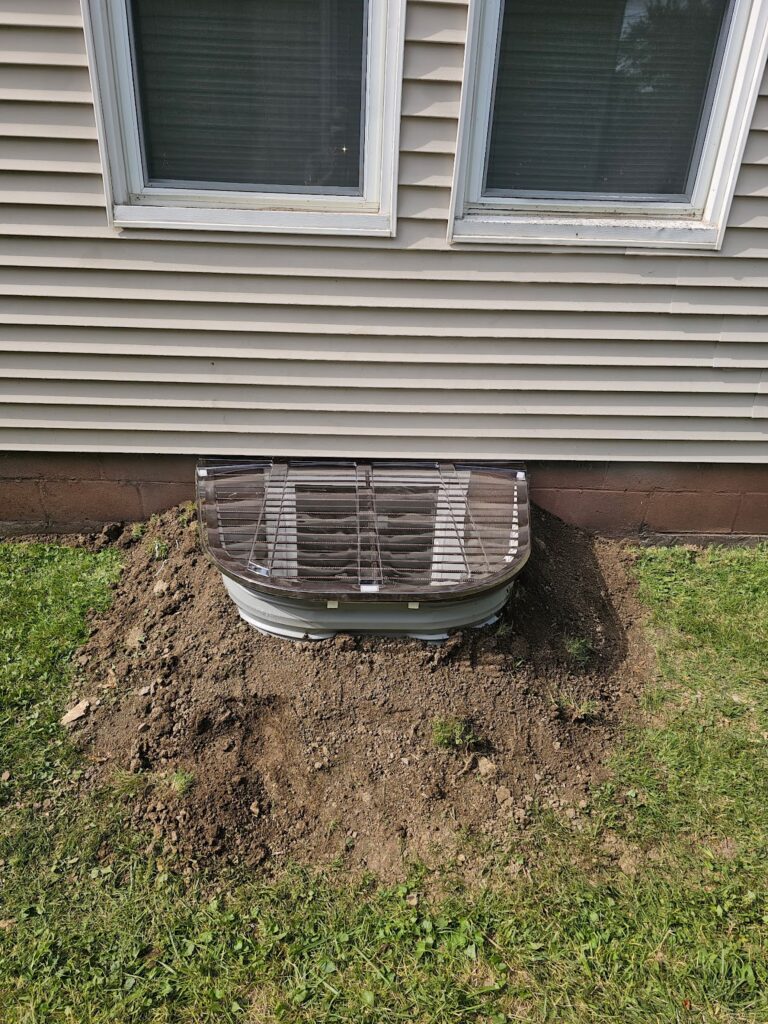 Egress Window Installation — Rock Island, IllinoisRock IslandBehncke Construction hand-dug an egress window in Rock Island, IL — a safe, code-compliant basement exit installed while protecting utilities, s…
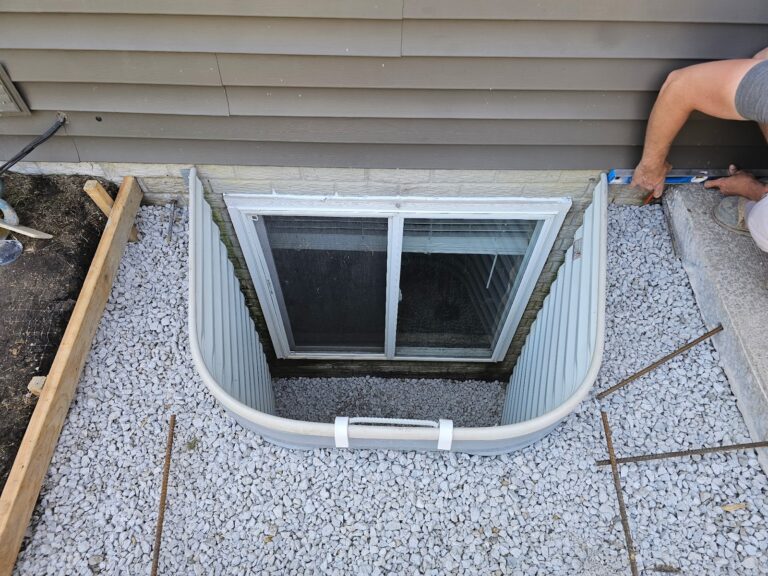 Leaking Egress Window Corrected — Quad CitiesA leaking basement traced to an undersized, poorly drained egress window well — removed and rebuilt with a properly sized well, added bell hole,…